iCoderAgent Documentation
Everything you need to set up and use iCoderAgent — a real AI coding agent that runs on your iPhone, iPad and Mac. Bring your own model key; your code and keys stay on your device.
Overview
iCoderAgent is an autonomous AI coding agent. You give it a task in plain language, and it plans the work, writes and edits files, runs real code, reads the results, and iterates until the task is done — right on your device. It ships with an embedded CPython runtime, so the agent can actually execute the Python it writes without any server round-trip.
It's bring-your-own-key (BYOK): you connect your own account with Anthropic (Claude), OpenAI, xAI (Grok) or another provider, and iCoderAgent uses that key directly. Your key is stored in the iOS Keychain and sent only to the provider you chose — never to us.
Install
iPhone & iPad: install iCoderAgent from the App Store. It runs fully on-device — no account is strictly required to start (a free tier lets you try it out).
Mac (companion): to let the agent build and run real projects on a computer, install the free desktop companion from the download page. See The desktop companion.
Your first agent run
- Open Settings → AI Provider and choose a provider (e.g. Claude).
- Paste your API key from that provider. It's saved to the Keychain.
- Go to the Terminal tab and type a task, e.g.
agent build a tip calculator web page. - Watch it work — it writes files, runs code, and shows you the result. Use the Preview tab to see HTML it builds.
Tip: prefix a message with agent to run the full coding agent. Other commands like ui (design a screen) and plain shell commands also work — type help to list them.
Account & relay
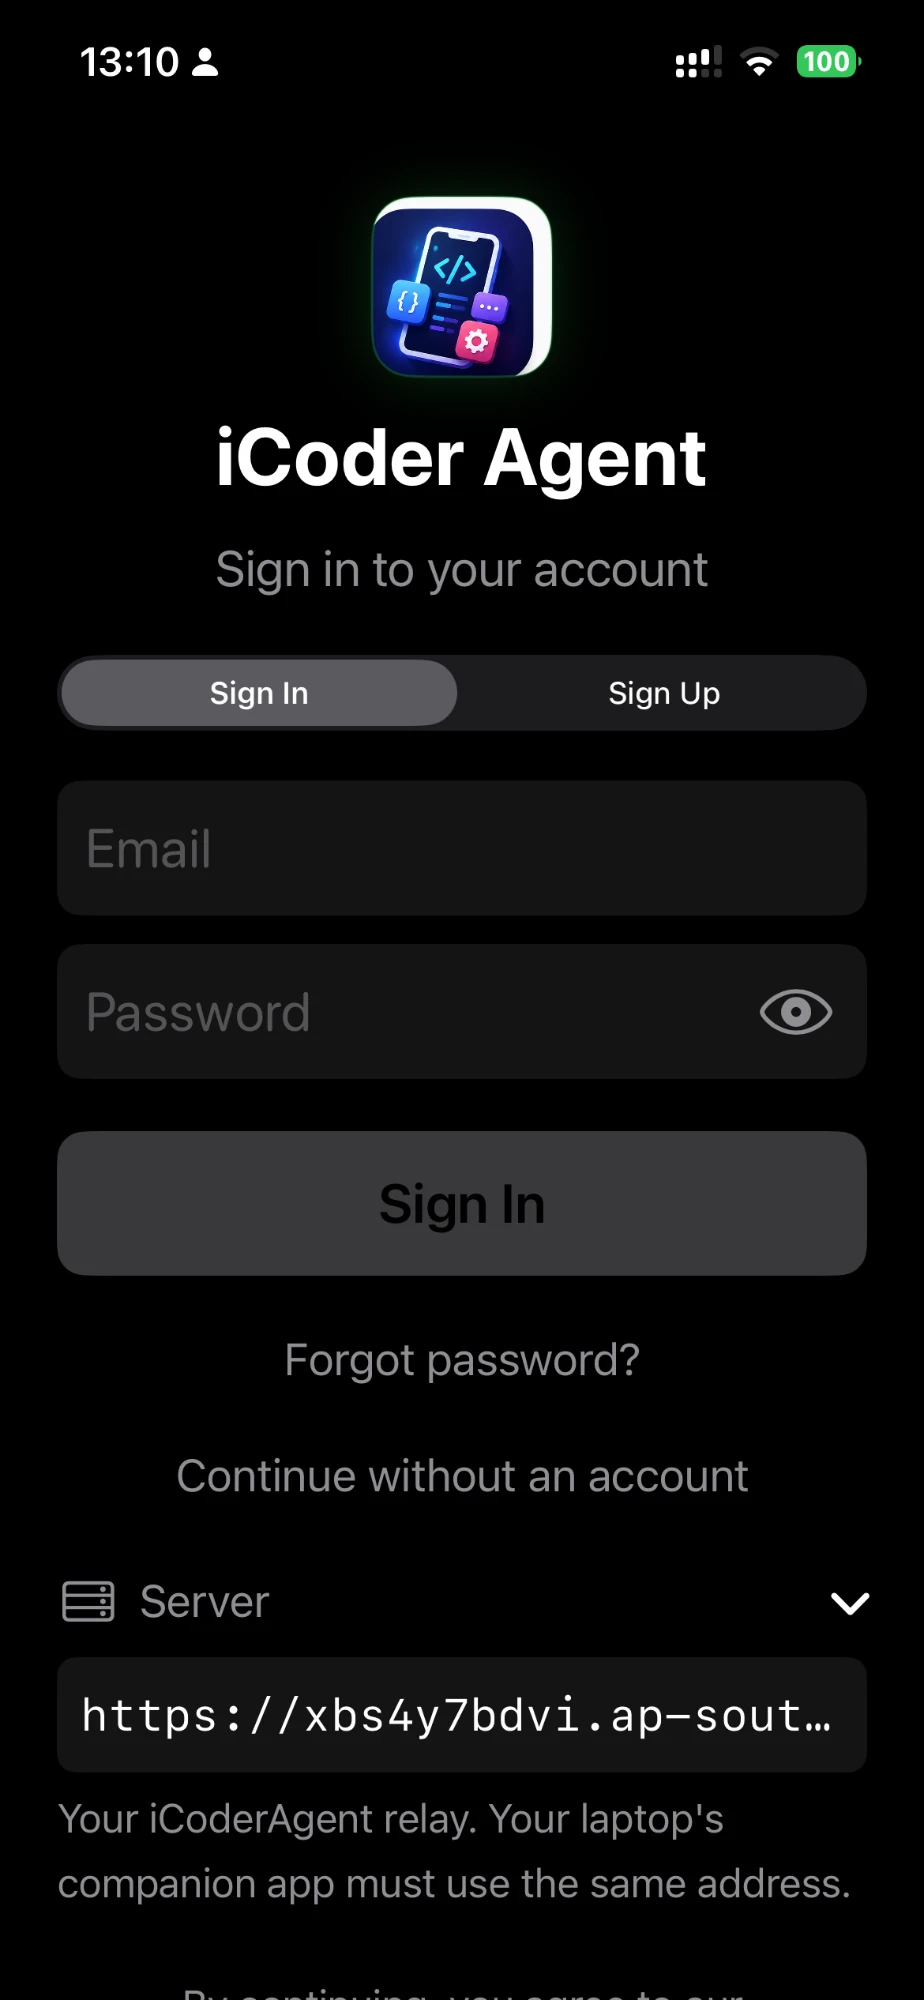
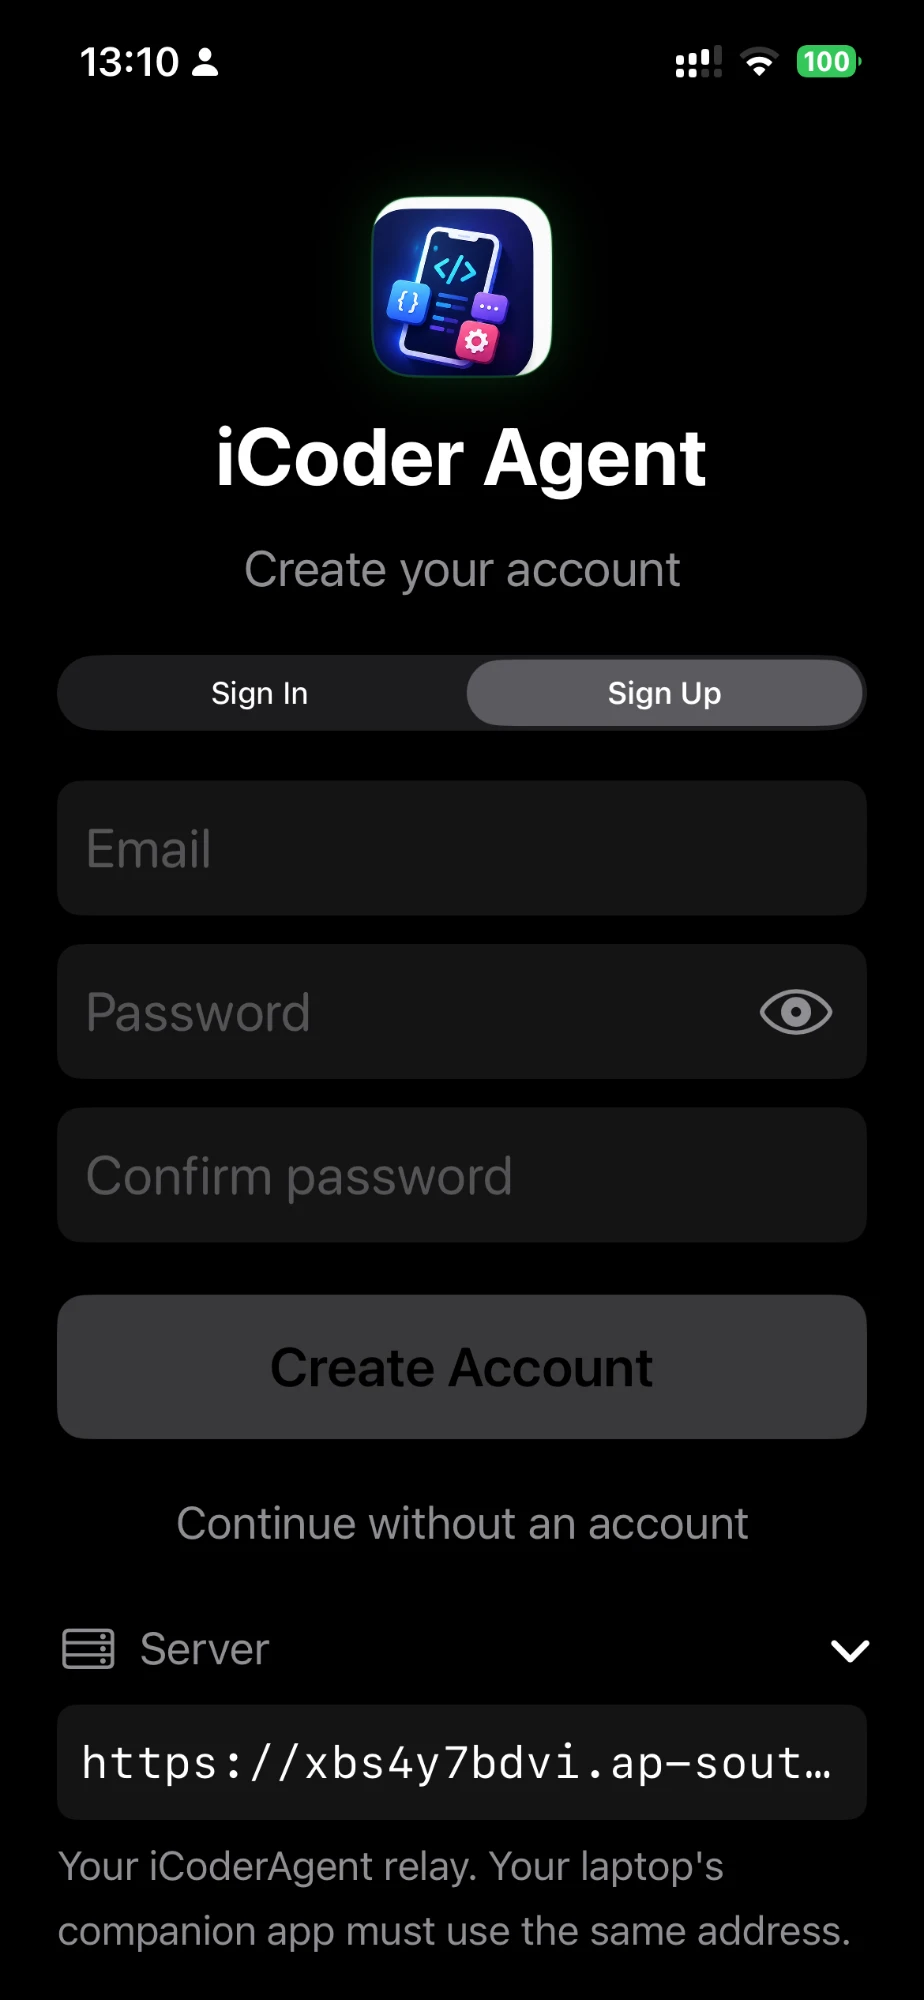
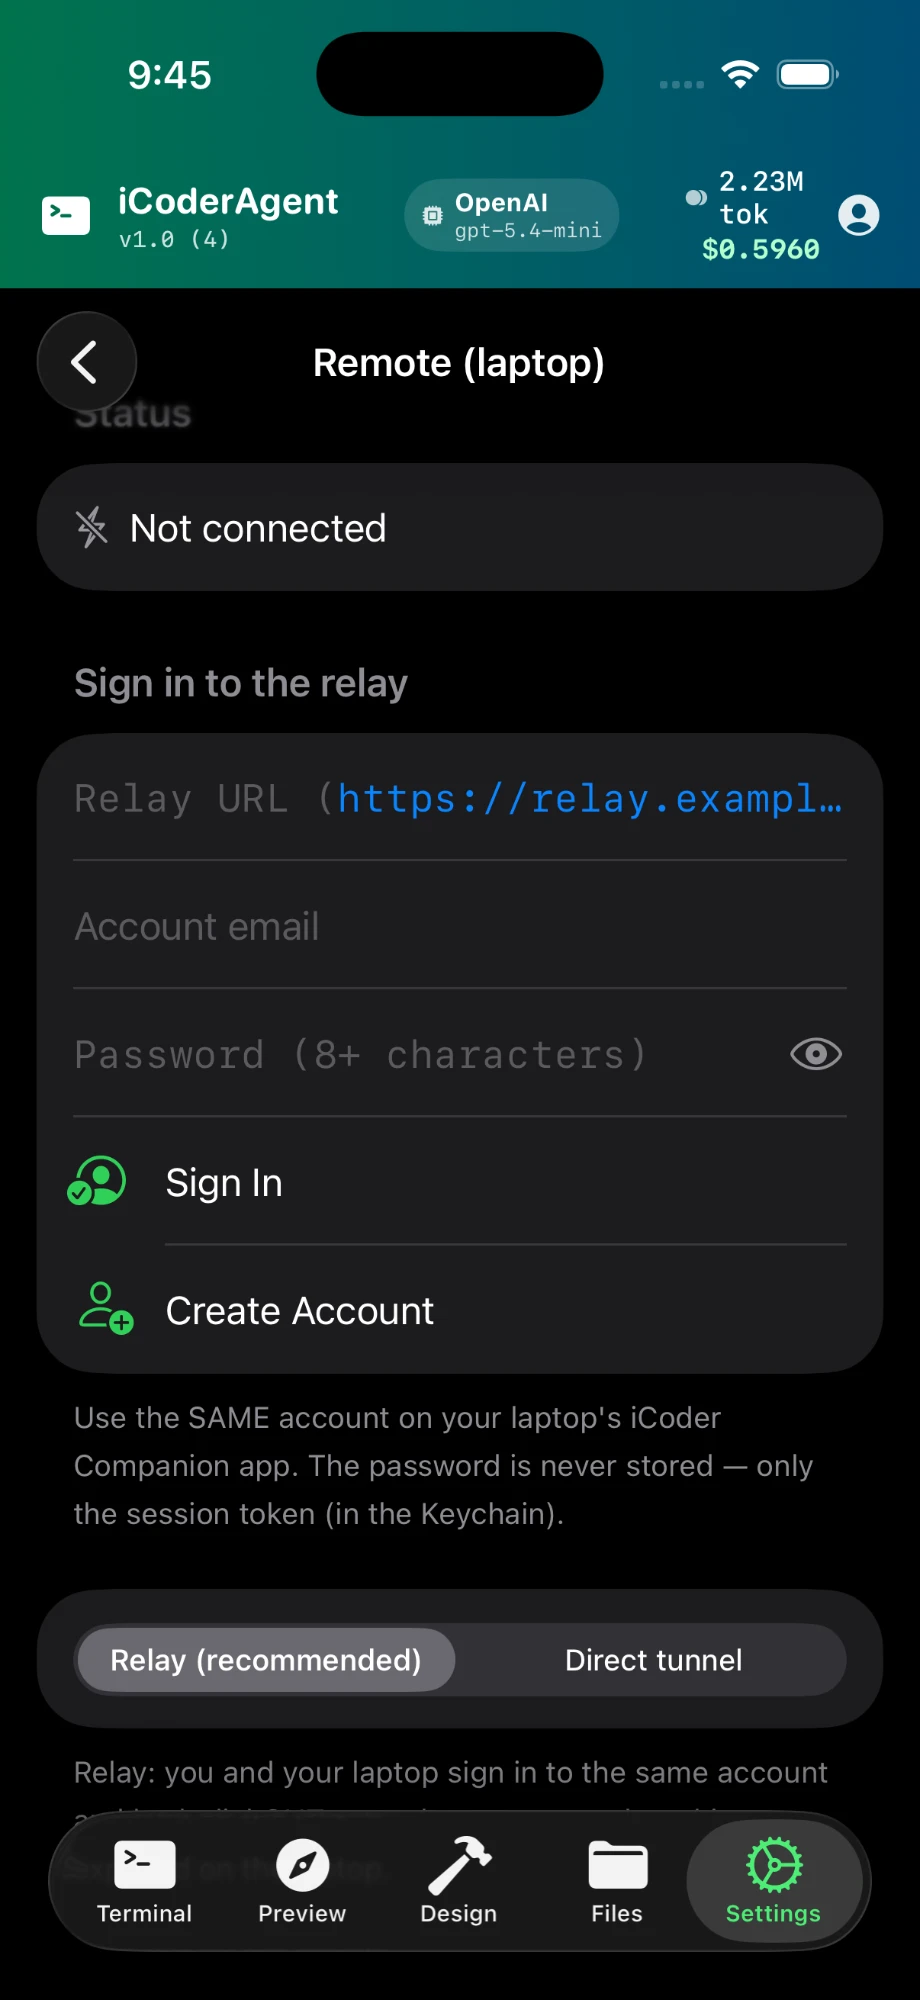
The first screen is sign in. An account is optional — the on-device agent works without one, so you can tap Continue without an account to skip it. You only need an account to pair your phone with the desktop companion: one login signs both into the same relay so they connect automatically. Create one under Sign Up.
Manage your account later under Settings → Profile: verify or change your email, sign out, or delete the account. Deleting removes your relay record and unpairs any companions; it doesn't cancel an Apple subscription — do that separately in your Apple subscription settings.
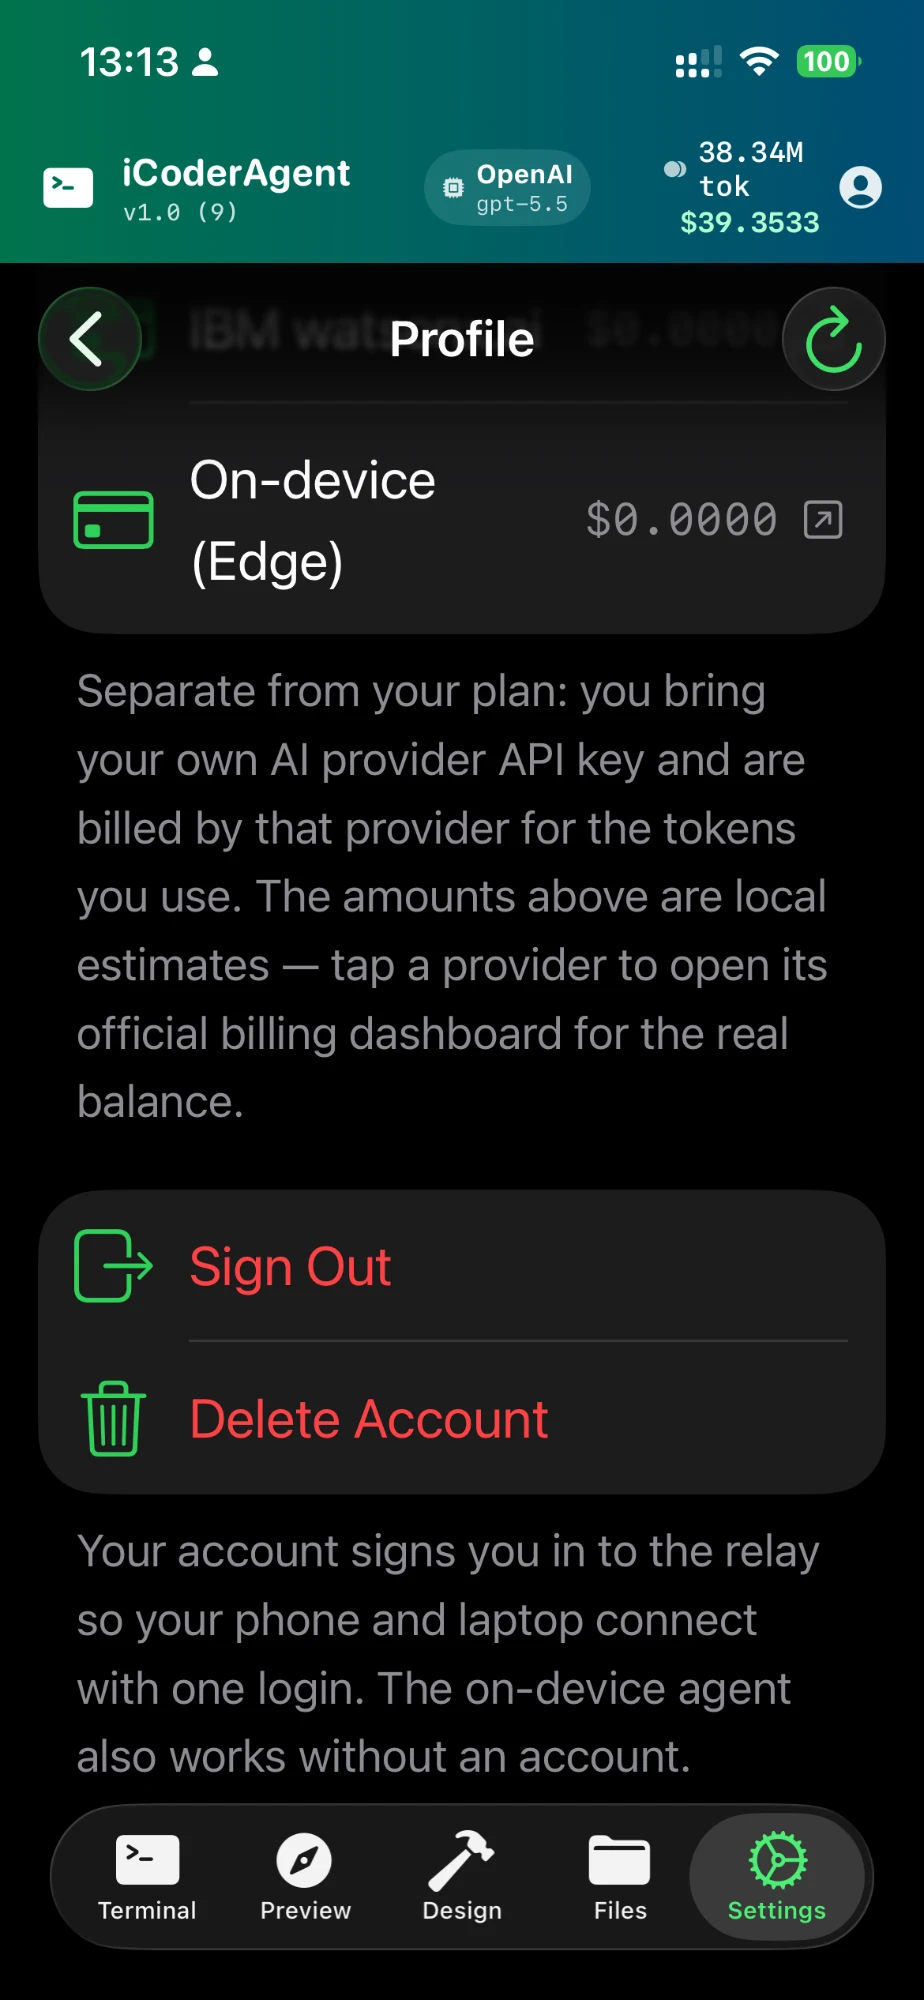
You can permanently delete your account anytime under Settings → Account → Delete Account (irreversible, confirmed in-app), or by emailing support — details: Delete your account.
The five tabs
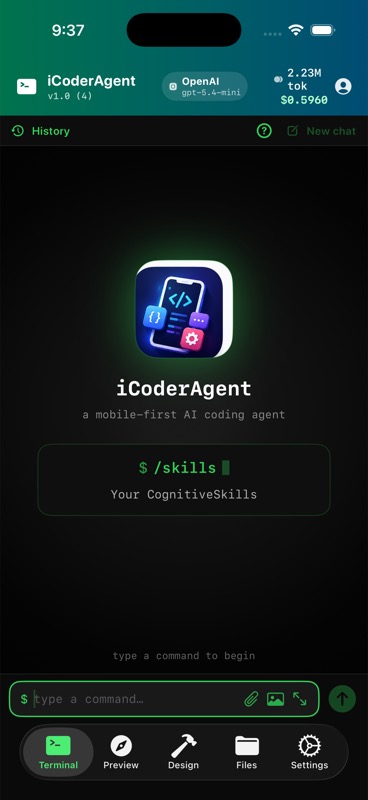
- Terminal — where you talk to the agent and run commands.
- Preview — renders HTML/web output the agent builds.
- Design — a lightweight surface for sketching screens and flows.
- Files — browse, view and edit the project's files.
- Settings — providers, keys, companion, models, skills, billing and this documentation.
Attaching files
Tap the paperclip next to the Terminal prompt to give the agent a file as context — a spec, a data sheet, a screenshot. Everything is processed on your device: only the extracted text (or a downscaled image) is sent to your AI provider, never the original file. Attached files show as chips above the prompt; tap × to remove one. The photo button next to it picks images from your library.
Supported file types
| Type | Extensions | How it's read |
|---|---|---|
| Text & code | .txt .md .py .js .swift .json .csv .html .yaml … any text file | Read directly. UTF-8, UTF-16 and Latin-1 are detected automatically. |
| Text layer is extracted. Scanned / image-only PDFs are OCR'd on-device (first 20 pages). | ||
| Word | .docx .docm .dotx .dotm .doc | Paragraph text, incl. macro-enabled and template files. Legacy .doc is best-effort (prose only, tables may be garbled). |
| Excel | .xlsx .xlsm .xltx .xltm | Every sheet, one row per line, tab-separated cells. Legacy .xls is not supported. |
| PowerPoint | .pptx .pptm .potx .potm .ppsx .ppsm | Slide text, one block per slide. Legacy .ppt is not supported. |
| OpenDocument | .odt .ods .odp | Document text. |
| Rich Text | .rtf | Formatted text, read natively. |
| Images | .png .jpg .heic .gif .webp .tiff .bmp | Sent as an image (vision) — needs a vision-capable model such as Claude, GPT-4o/5 or Gemini. Text-only models ignore images. |
Limits
- Text per file: up to 200,000 characters (roughly 50,000 tokens). Longer files are truncated and the chip is marked as truncated.
- Scanned PDFs: OCR covers the first 20 pages. OCR runs while you wait, so a long scan can take a few seconds.
- Images: downscaled to 1568 px on the longest edge and re-encoded as JPEG before sending, to bound token cost.
- Multiple files: you can attach several at once; each counts against your provider's context window, so keep the total reasonable.
- Not supported: legacy binary Office (.xls .ppt), OneNote/Publisher/Visio, archives (.zip), audio, video, executables and encrypted or DRM-protected files. These are skipped with a message listing the supported types.
Attachments are sent with the next prompt only. Use the expand button for a larger composer with the same paperclip.
Bring your own key (BYOK)
iCoderAgent doesn't resell AI usage. You connect your own provider account, and model calls are billed by that provider directly to you. This keeps your data private (keys and code never touch our servers) and lets you use whatever model you already pay for.
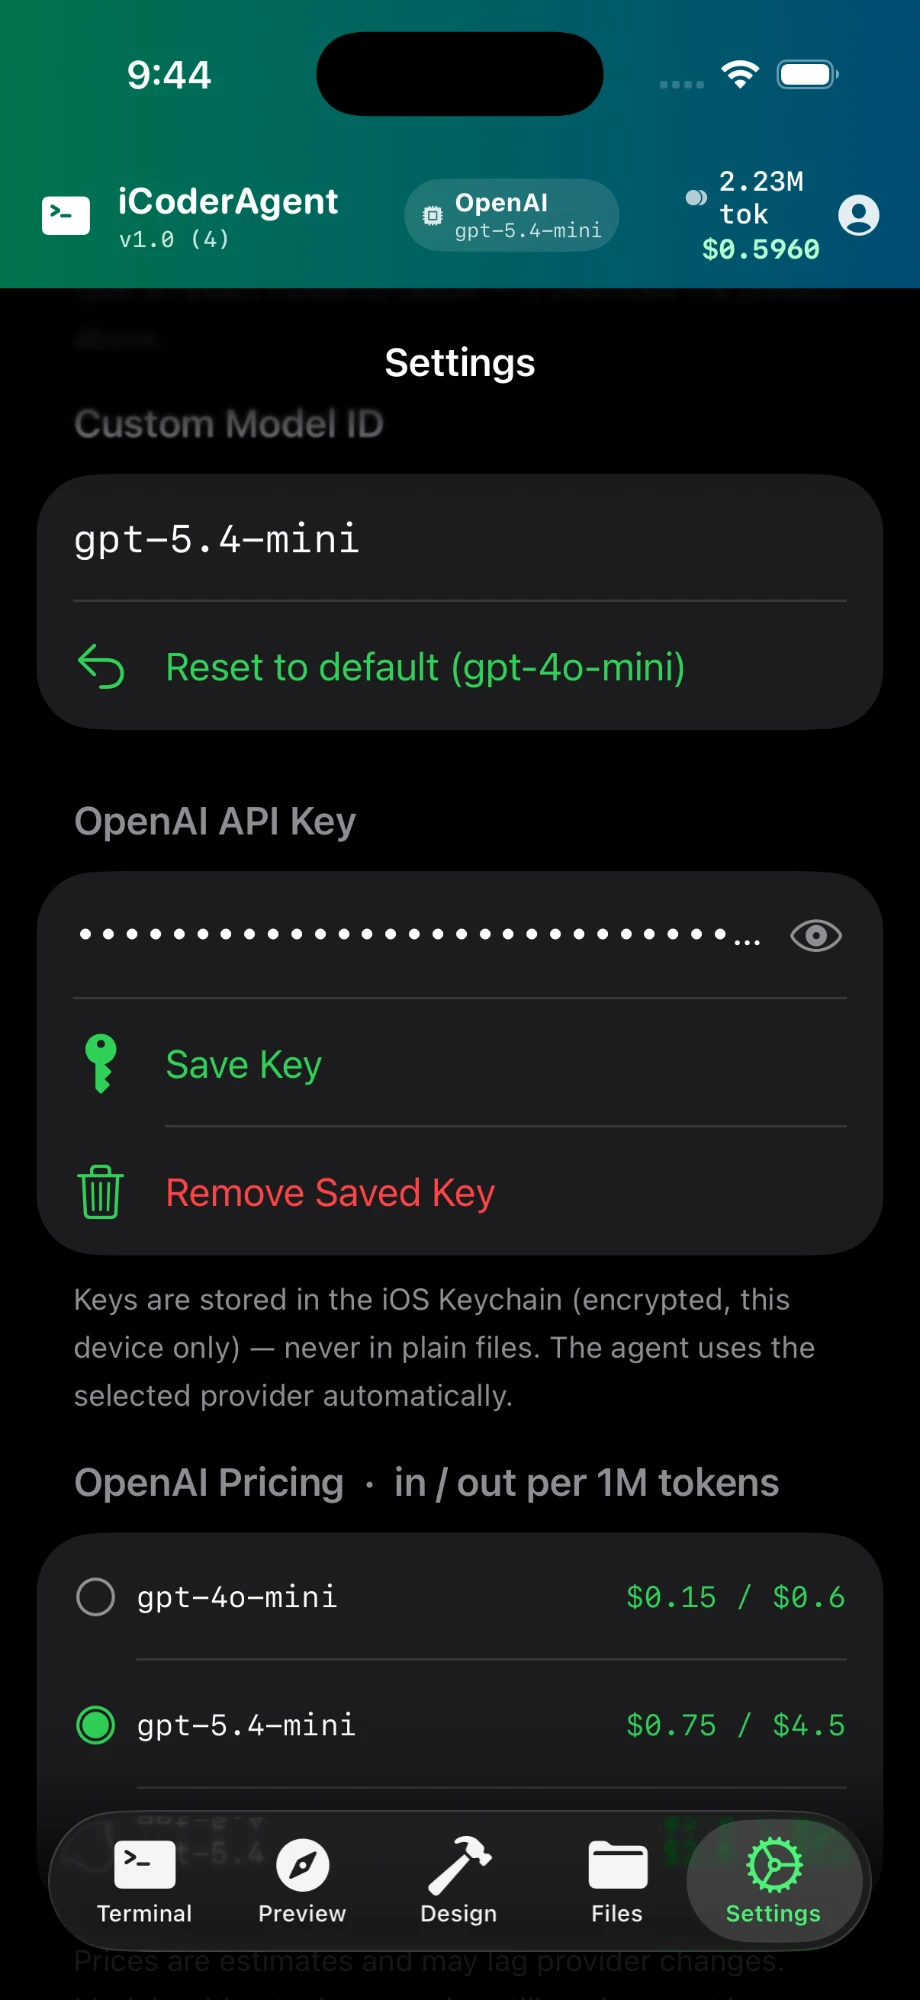
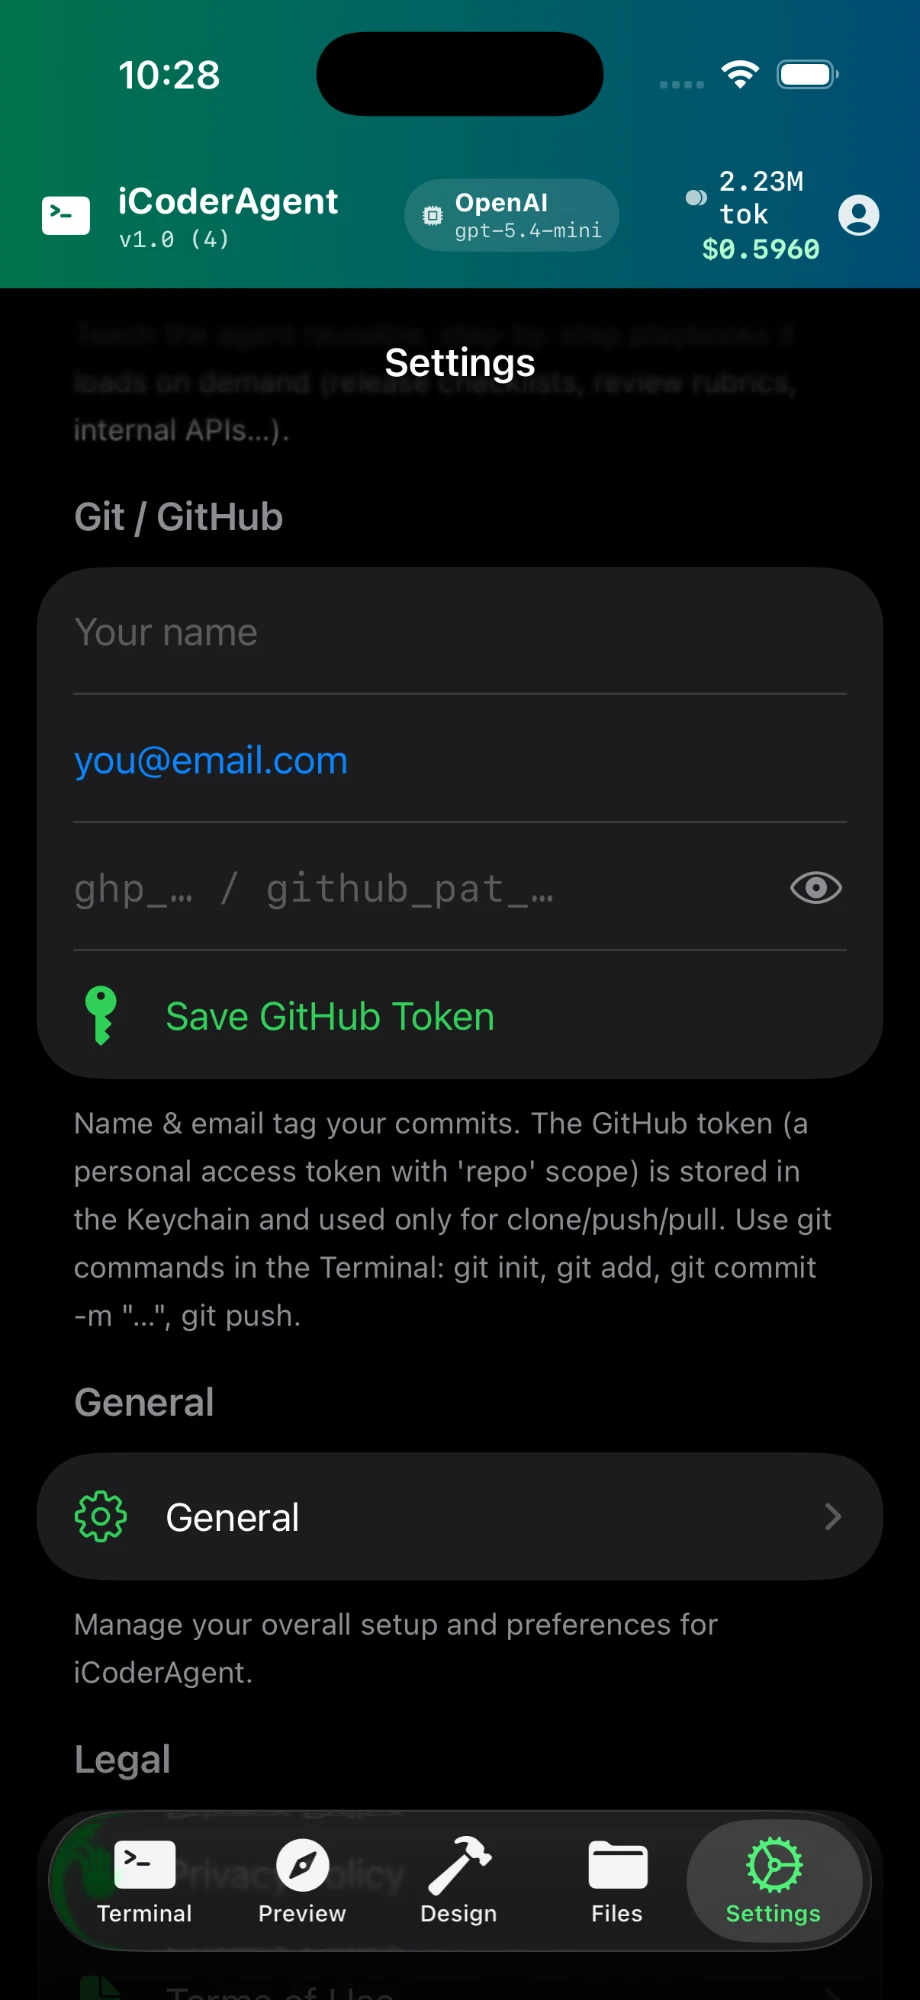
Enter keys under Settings → AI Provider. Keys live in the iOS Keychain and are transmitted only to the provider you selected.
Supported providers
iCoderAgent works with a range of cloud and local providers. Switch anytime under Settings → AI Provider:
- Anthropic (Claude), OpenAI (GPT), xAI (Grok) — the primary cloud providers.
- Google Gemini, GitHub Models, Groq, Azure, OpenRouter, DeepSeek, Moonshot, Hugging Face — additional OpenAI-compatible options.
- Ollama, Apple MLX — local servers you run yourself (see below).
- On-device (Edge) — models that run entirely on your iPhone/iPad, no key and no network needed.
Getting an API key
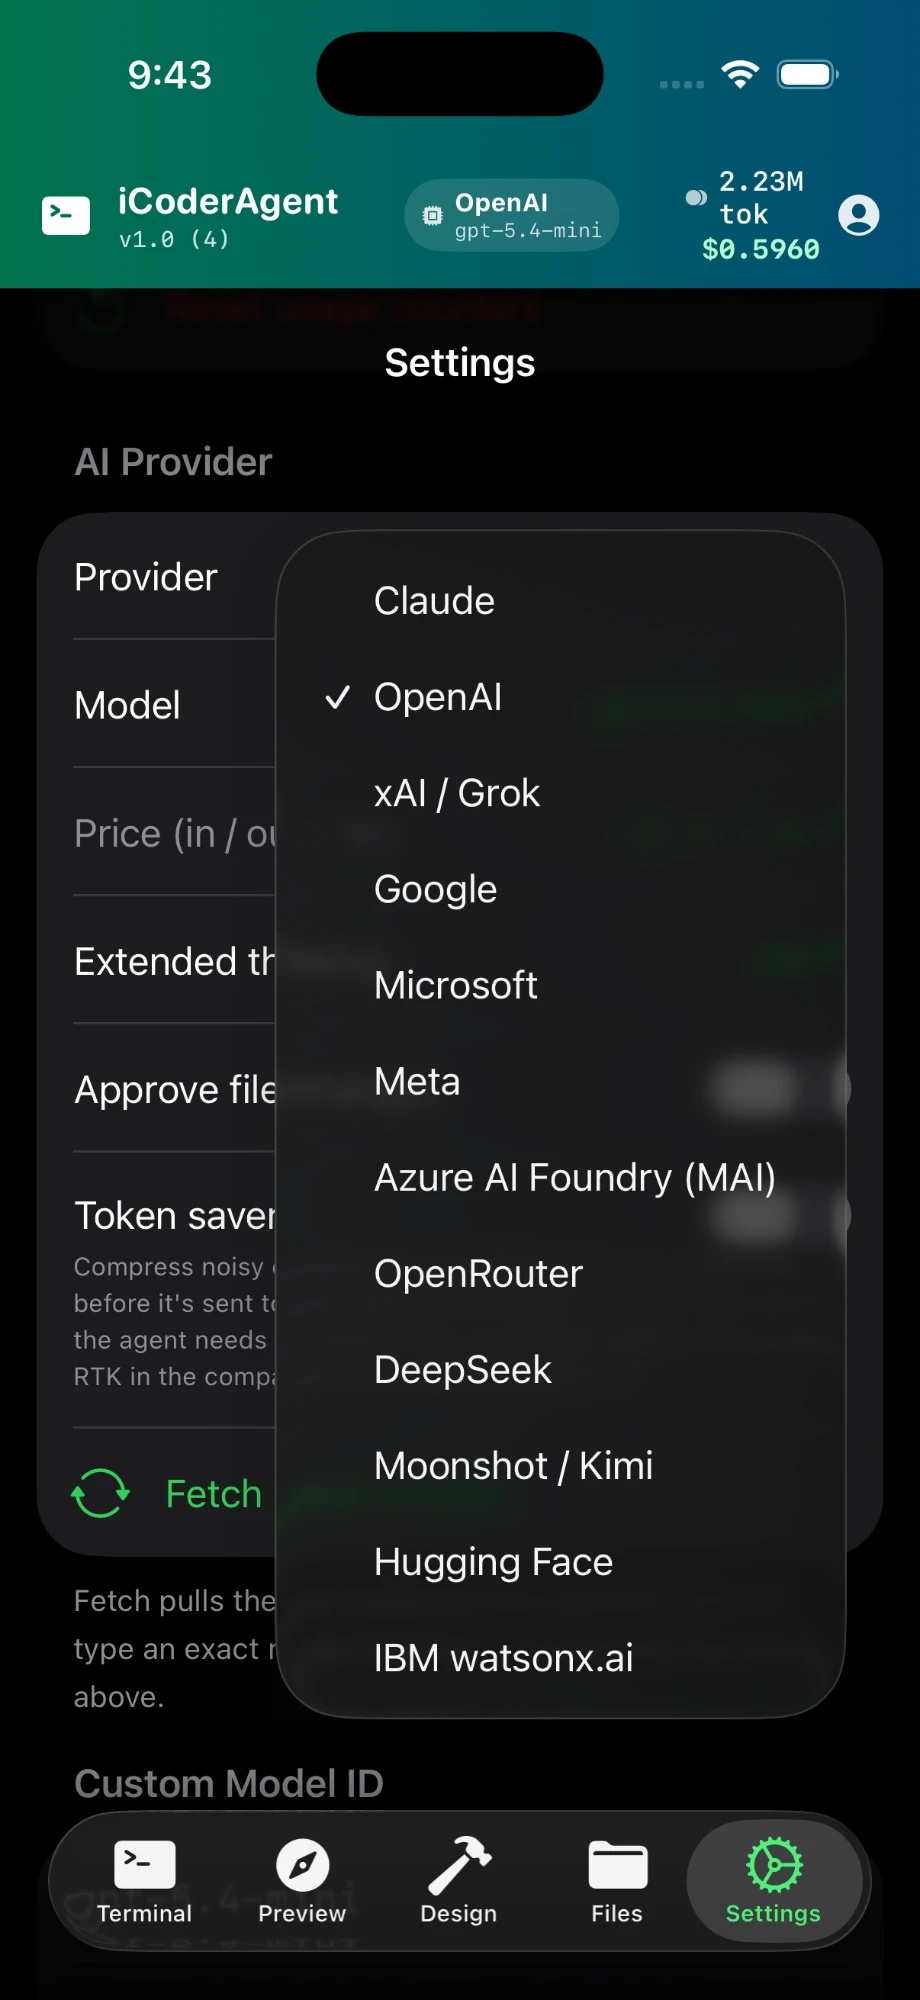
Every cloud provider works the same way: create an account on the provider's platform, generate a key, and paste it into Settings → AI Provider in iCoderAgent. The key is saved to your Keychain and sent only to that provider. Most platforms require a payment method or prepaid credit before the key will work — API usage is billed by the provider, separately from any chatbot subscription (ChatGPT Plus, Claude Pro, etc. do not include API access).
Anthropic (Claude)
- Sign in at console.anthropic.com.
- Add credit under Settings → Billing (prepaid; new accounts sometimes get trial credit).
- Go to Settings → API Keys → Create Key, name it (e.g. "iCoderAgent"), and copy the key — it's shown only once.
- Stuck? See the official Anthropic guide.
OpenAI (GPT)
- Sign in at platform.openai.com (the API platform — separate from ChatGPT).
- Add billing under Settings → Billing.
- Open API keys → Create new secret key and copy it — it's shown only once.
- Stuck? See the official OpenAI guide.
xAI (Grok)
- Sign in at console.x.ai.
- Add credit or billing in the console.
- Create a key under API Keys and copy it.
- Stuck? See the official xAI guide.
Google Gemini
- Sign in at aistudio.google.com with a Google account.
- Click Get API key → Create API key. A free tier exists with rate limits; enable billing on the linked Google Cloud project for higher limits.
- Stuck? See the official Google Gemini guide.
GitHub Models
- Sign in at github.com, then open Settings → Developer settings → Personal access tokens.
- Generate a fine-grained token with Models access. Free tier with rate limits, tied to your GitHub plan.
- Stuck? See the official GitHub Models guide.
Groq
- Sign in at console.groq.com.
- Create a key under API Keys. A free tier with rate limits is available.
- Stuck? See the official Groq guide.
Azure (OpenAI / AI Foundry)
- You need an Azure subscription at portal.azure.com.
- Create an Azure OpenAI (AI Foundry) resource, deploy a model, then copy the key and endpoint from Keys and Endpoint.
- Stuck? See the official Azure guide.
OpenRouter
- Sign in at openrouter.ai.
- Add credit, then create a key under Keys. One key gives access to many models across vendors — handy for trying models without separate accounts.
- Stuck? See the official OpenRouter guide.
DeepSeek
- Sign in at platform.deepseek.com.
- Top up a small credit, then create a key under API Keys.
- Stuck? See the official DeepSeek guide.
Moonshot (Kimi)
- Sign in at platform.moonshot.ai.
- Create a key under API Keys in the console.
- Stuck? See the official Moonshot guide.
Hugging Face
- Sign in at huggingface.co, then open Settings → Access Tokens.
- Create a token (read scope is enough for inference). Free tier with rate limits; PRO raises them.
- Stuck? See the official Hugging Face guide.
Ollama & Apple MLX (local)
No API key needed — these are servers you run on your own machine. See Ollama and Apple MLX below.
On-device (Edge)
No key, no account, no network — see On-device models.
Choosing a model
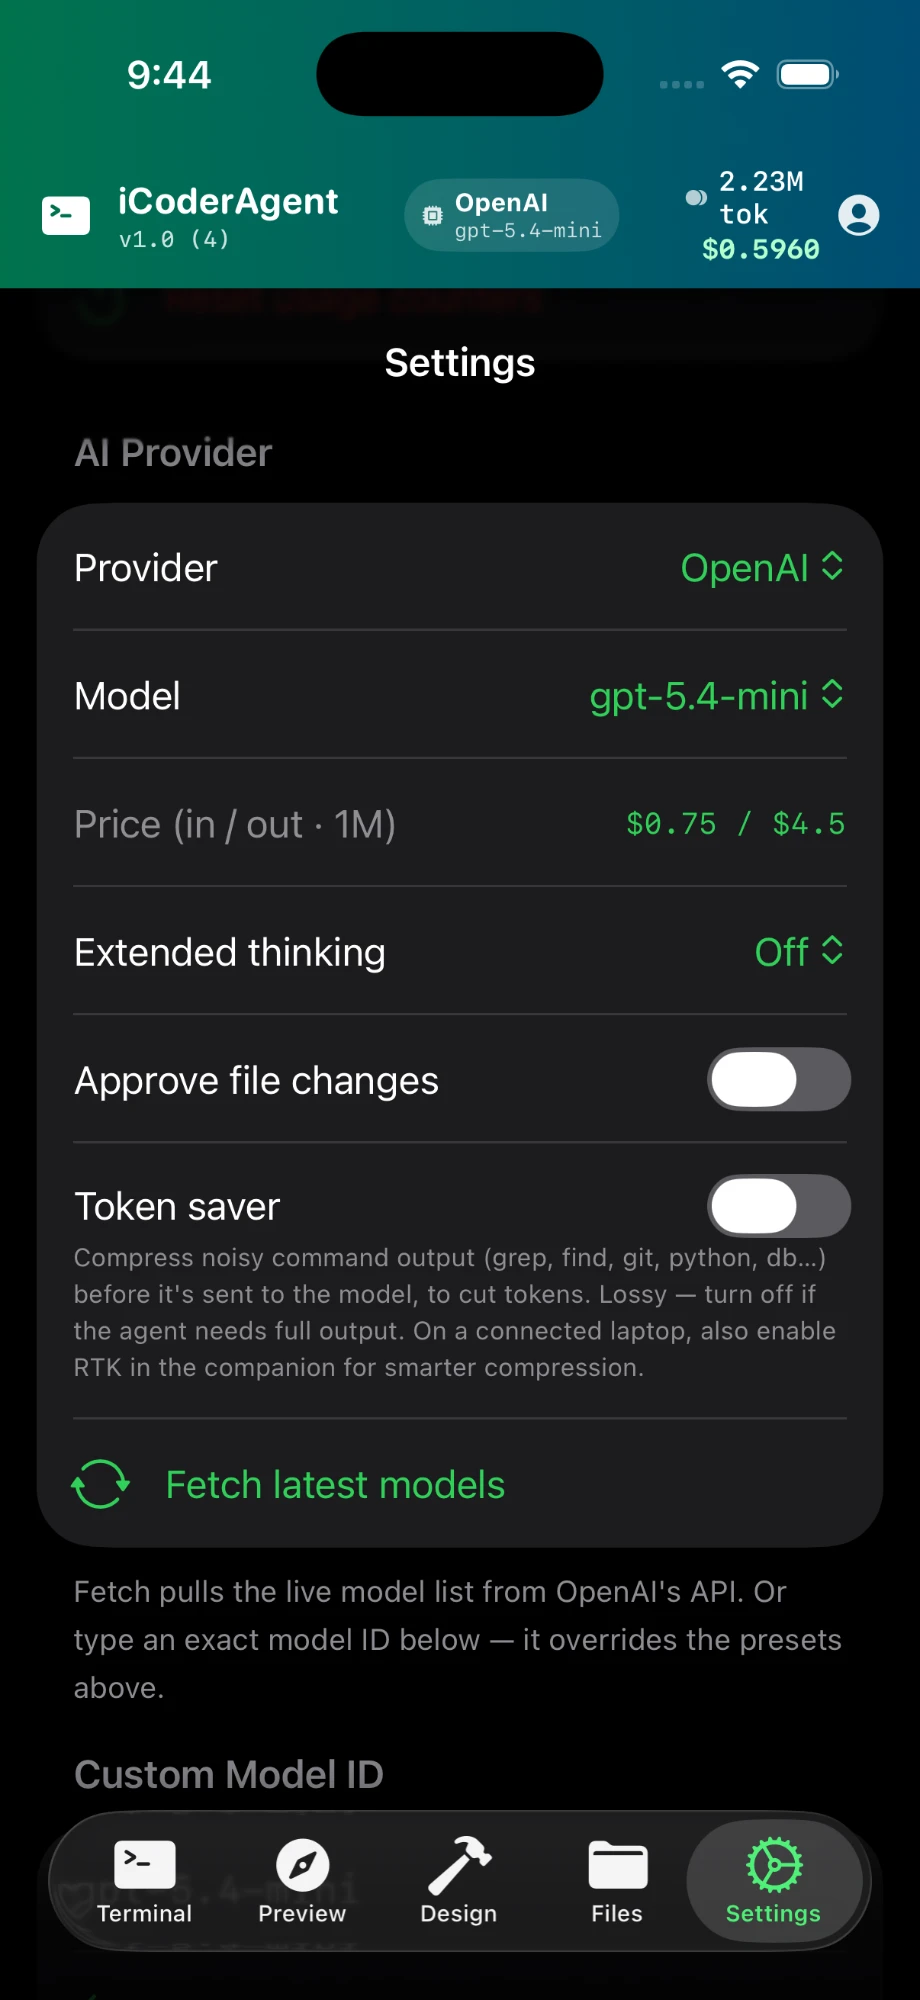
Each provider offers a list of models in Settings. You can also type a custom model ID if you want a specific one that isn't listed. For coding, the strongest general models (latest Claude / GPT / Grok) give the best results; smaller/cheaper models are fine for quick edits.
How the agent works
iCoderAgent runs a genuine agent loop, not a single chat reply. Each turn it can call tools — write a file, read a file, run a command, search code, take a screenshot — then read the results and decide what to do next, repeating until your task is complete. It commits checkpoints as it edits, so work isn't lost.
Plan mode
Use plan <task> to have the agent think through an approach and lay out the steps before writing any code. Good for larger changes where you want to review the plan first.
Loop mode (autonomous)
Use loop <goal> to set a goal once and let the agent drive it to completion — it discovers what's needed, plans, builds, verifies against a definition of done, and iterates on any gaps until it passes or a cycle cap is reached. Best for an end-to-end goal you want driven without step-by-step prompting.
Sub-agents & pipelines
The agent can delegate parts of a task to sub-agents, run several independent subtasks in parallel, or run a plan → build → review pipeline — all to work faster and check its own output. These run automatically when the agent decides they help; you don't need to manage them.
Token saver
iCoderAgent compacts noisy tool output on-device before it reaches the model, so you spend fewer tokens per task without losing the information the agent needs. It's on by default.
Node.js on device
iCoderAgent ships a full Node.js 18 runtime inside the app (alongside Python), so JavaScript projects run on your iPhone or iPad with no computer attached. The Node.js — command-line tool and Node.js — HTTP service templates in New Project are marked On device.
Commands
| Command | What it does |
|---|---|
node app.js [args] | Run a script (CommonJS or ES modules). node -e "…" for a one-liner, node --version for the runtime. |
npm install <pkg> | Add a package to the project's node_modules. Pure-JavaScript packages only. |
npm start · npm test · npm run <script> | Run package.json scripts — they must be plain node … commands (no shell pipelines). |
node --test | Run *.test.js files with the built-in node:test runner. |
node server.js | A script that starts an HTTP server keeps running; the Terminal shows Node server running and the Preview tab opens it. |
node stop | Stop servers started this way. |
The agent can run these too: ask it to "run the tests" or "start the server" and its run tool uses the same runtime. On the Mac app, these commands use the Node installed on your Mac instead.
What runs on the phone
Rule of thumb: if a project works with node file.js and its packages are pure JavaScript (no binding.gyp, no build step on install), it runs here.
| Runs | Doesn't run |
|---|---|
Command-line tools and scripts (CommonJS or ES modules), node:test tests | Native addons: better-sqlite3, sharp, bcrypt, node-canvas, puppeteer |
HTTP servers: node:http, Express, Fastify, Koa — viewed in the Preview tab | Bundlers and dev servers that spawn processes: Vite, webpack, Next.js, nodemon |
| Pure-JS packages: lodash, date-fns, zod, commander, yargs, chalk, csv-parse, marked, cheerio | npx binaries and npm lifecycle scripts (postinstall etc. are skipped) |
| JSON file storage; JavaScript-only databases (lowdb, NeDB-style) | Anything built on WebAssembly (sql.js, esbuild-wasm) — the embedded runtime has no wasm engine; regexes using Unicode property escapes (\p{…}) — no ICU. If a package trips on one, pin an older version with npm overrides |
| Networking: fetch, axios, WebSocket clients and servers | Anything needing a shell pipeline in a package.json script |
| Templating and static sites: EJS, Handlebars, Nunjucks | TypeScript runners that use loaders or spawning (ts-node, tsx); long-running jobs that aren't servers (stopped after 120 s) |
React: two templates run offline. Web — React (single file) compiles JSX in the browser, no build step. Web — React (bundled, on device) is a normal src/ project with npm packages: npm install, then npm run build bundles it with Rollup + Sucrase (pure JavaScript) into dist/bundle.js, and index.html opens in the Preview tab. Vite and Next.js themselves don't run (they spawn processes), so this is the on-device equivalent.
Limits
- One runtime per app launch. Scripts share the same process, so a script that changes globals or leaves timers running can affect the next one. Restarting the app resets it.
- No native addons, no child processes. Packages that compile C++ or spawn other programs won't work; npm lifecycle scripts are skipped.
npxof binaries isn't supported. - Command timeout: a script that neither finishes nor starts a server is stopped after 120 seconds.
- Node version is fixed by the app release (currently 18) and can't be changed from inside the app. npm packages update normally.
Typed answers (Jev)
Not every question needs an essay. With an optional TypeSafe (Jev) key (from typesafe.ai, pasted into Settings → TypeSafe (Jev)), short questions with a shape — yes/no, pick-one, rate-this — are answered by a decision model with a probability attached, for a fraction of a language-model call.
jev is python dynamically typed→ Yes (93% true)jev pick swift|kotlin|dart :: which is native on iOS?→ swift · 88%jev rate low|medium|high :: how risky is a force push?→ high · 92%
It also backs three of the agent's own decisions: which specialist role fits a subtask, whether a command is about to destroy something, and whether finished work actually works. It is an optimisation, never a dependency — without a key (or if Jev is unreachable) the app behaves exactly as before. Full details: Typed answers with Jev.
Spec-driven building (SDD)
When a project starts, iCoderAgent asks once which way to build it — vibe coding (just talk, the agent builds) or spec-driven — and records the choice in the project folder. A project that already contains a goal-spec.md is treated as spec-driven. In an SDD project, no code is written without a specification:
- The spec comes from you. A tappable form interview per specification document — not a stream of free-text questions, and not silent defaults invented by the model.
[NEEDS CLARIFICATION: …]— anything unsettled goes into the spec as a question. Code stays blocked while any marker remains (the refusal quotes the open questions back); writing specs and design mockups stays allowed.tasks.md— required after the specs, before code: numbered tasks, each citing the requirement it serves. A task citing nothing is scope creep, caught at the cheapest moment.- Converge, don't check once —
done_listreports CONVERGED / NOT CONVERGED against the spec's "Done when" items; the agent fixes and re-verifies until everything passes.
The flow is deliberate friction: it keeps your decisions distinguishable from the model's. For quick experiments, pick vibe coding — the choice is per-project and made up front. Available from v1.0.7.
On-device (Edge) models
iCoderAgent can run small language models entirely on your iPhone or iPad — no API key, no network, no per-token cost. Download a model under Settings → On-Device Models (e.g. Gemma or Qwen variants). On-device models are slower and less capable than the top cloud models, but they're private and free, and they don't count against your conversation quota.
On-device models need a recent device with enough memory. Larger models download several GB; pick a size that fits your device.
Ollama
If you run Ollama on your computer, point iCoderAgent at it: choose Ollama as the provider and enter the server's URL (your computer's LAN IP, e.g. http://192.168.1.5:11434). The phone can't reach localhost, so use the LAN address or a tunnel.
Apple MLX
On an Apple-silicon Mac you can run mlx_lm.server and connect iCoderAgent to it: choose MLX as the provider and enter the server URL (e.g. http://192.168.1.5:8080). Like Ollama, this runs the model on your Mac and is reached over your local network.
The desktop companion
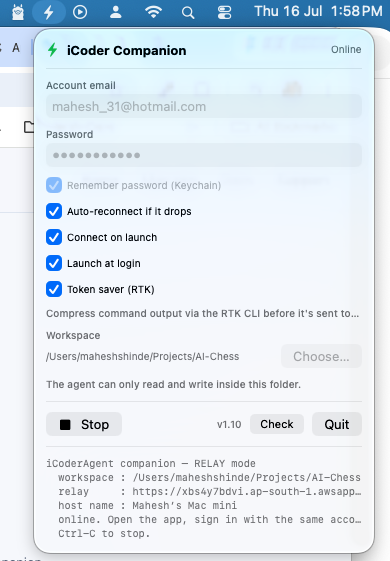
The companion is a small app for macOS, Windows and Linux that lets the agent build, run and test real projects on your computer, driven from your phone. iOS can't run arbitrary shell tools (compilers, npm, pytest, Docker), so the companion executes those on your machine and streams the results back over a secure relay.
Download it from the download page. macOS is a signed, notarized app; Windows and Linux builds are also available.
Connect a computer
- Install and open the companion on your computer.
- Sign in with the same account you use in the app, and pick the project folder the agent should work in.
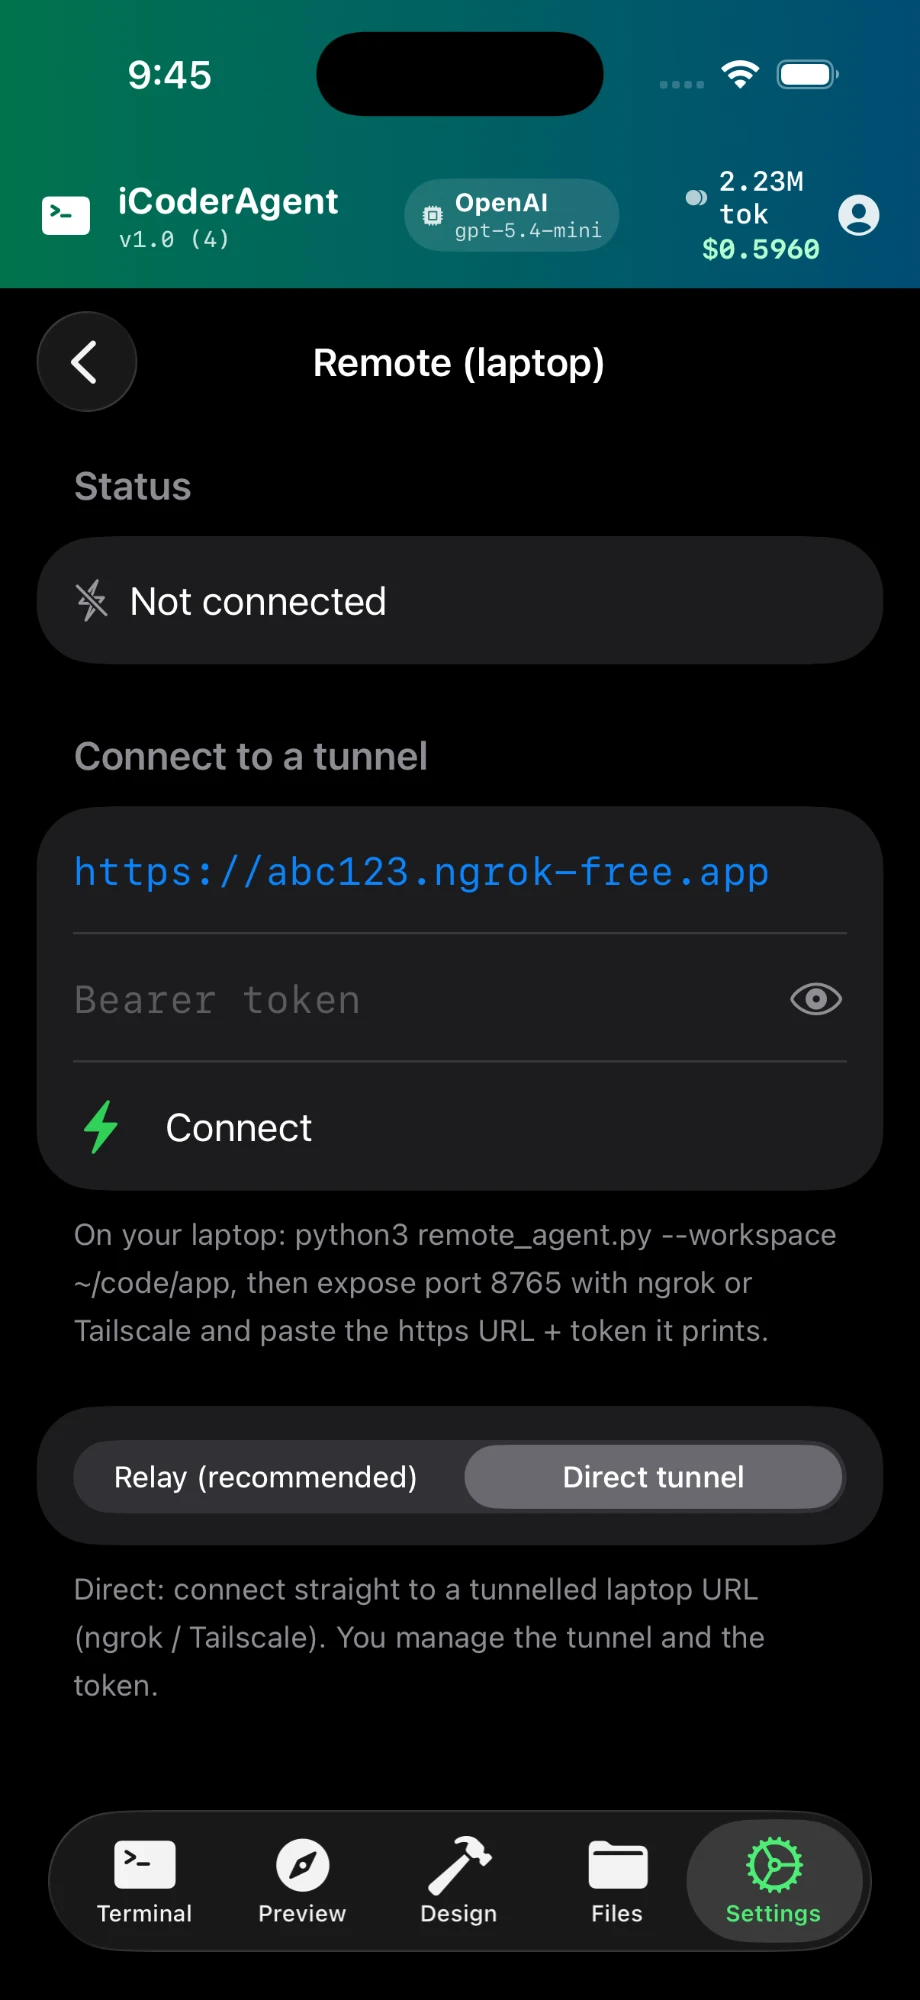
- In iCoderAgent, go to Settings → Remote and select your computer — it appears automatically once the companion is connected.
No tunnels, port forwarding or extra networking are needed — the companion connects out to the relay on its own.
Remote mode — what runs where
When a computer is connected, file edits are kept in sync on both the phone and the computer, and shell commands (run, tests, builds) execute on the computer with its full toolchain. Reads come from the local copy so the app stays responsive. When no computer is connected, the agent works on-device with the embedded Python only.
SSH hosts
Beyond the companion, you can register additional machines as SSH hosts (Settings → Remote Hosts) and have the agent run commands on them by alias. Useful for driving a server or a second machine alongside your main companion.
CognitiveSkills
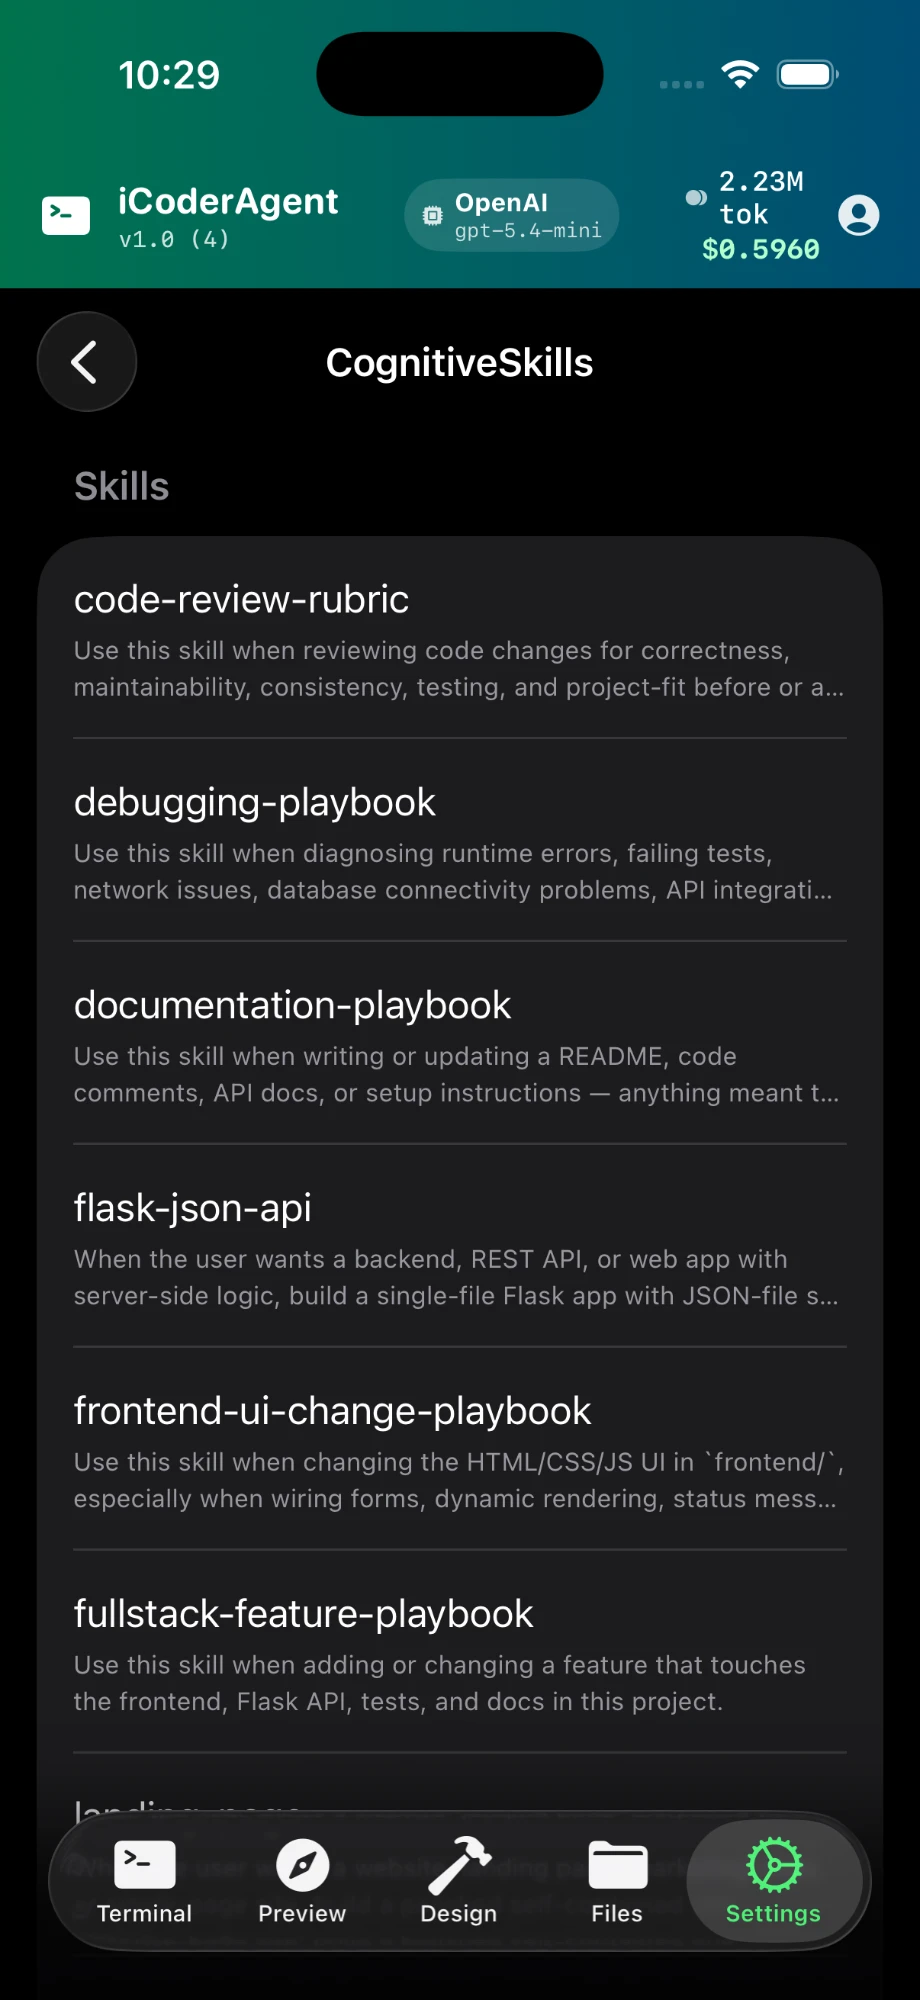
Skills are reusable Markdown playbooks the agent can load on demand — a documented procedure for something you do often (a project's conventions, a review checklist, a build recipe). Manage them under Settings → CognitiveSkills. The agent advertises each skill's name and description and pulls in the full text only when it's relevant.
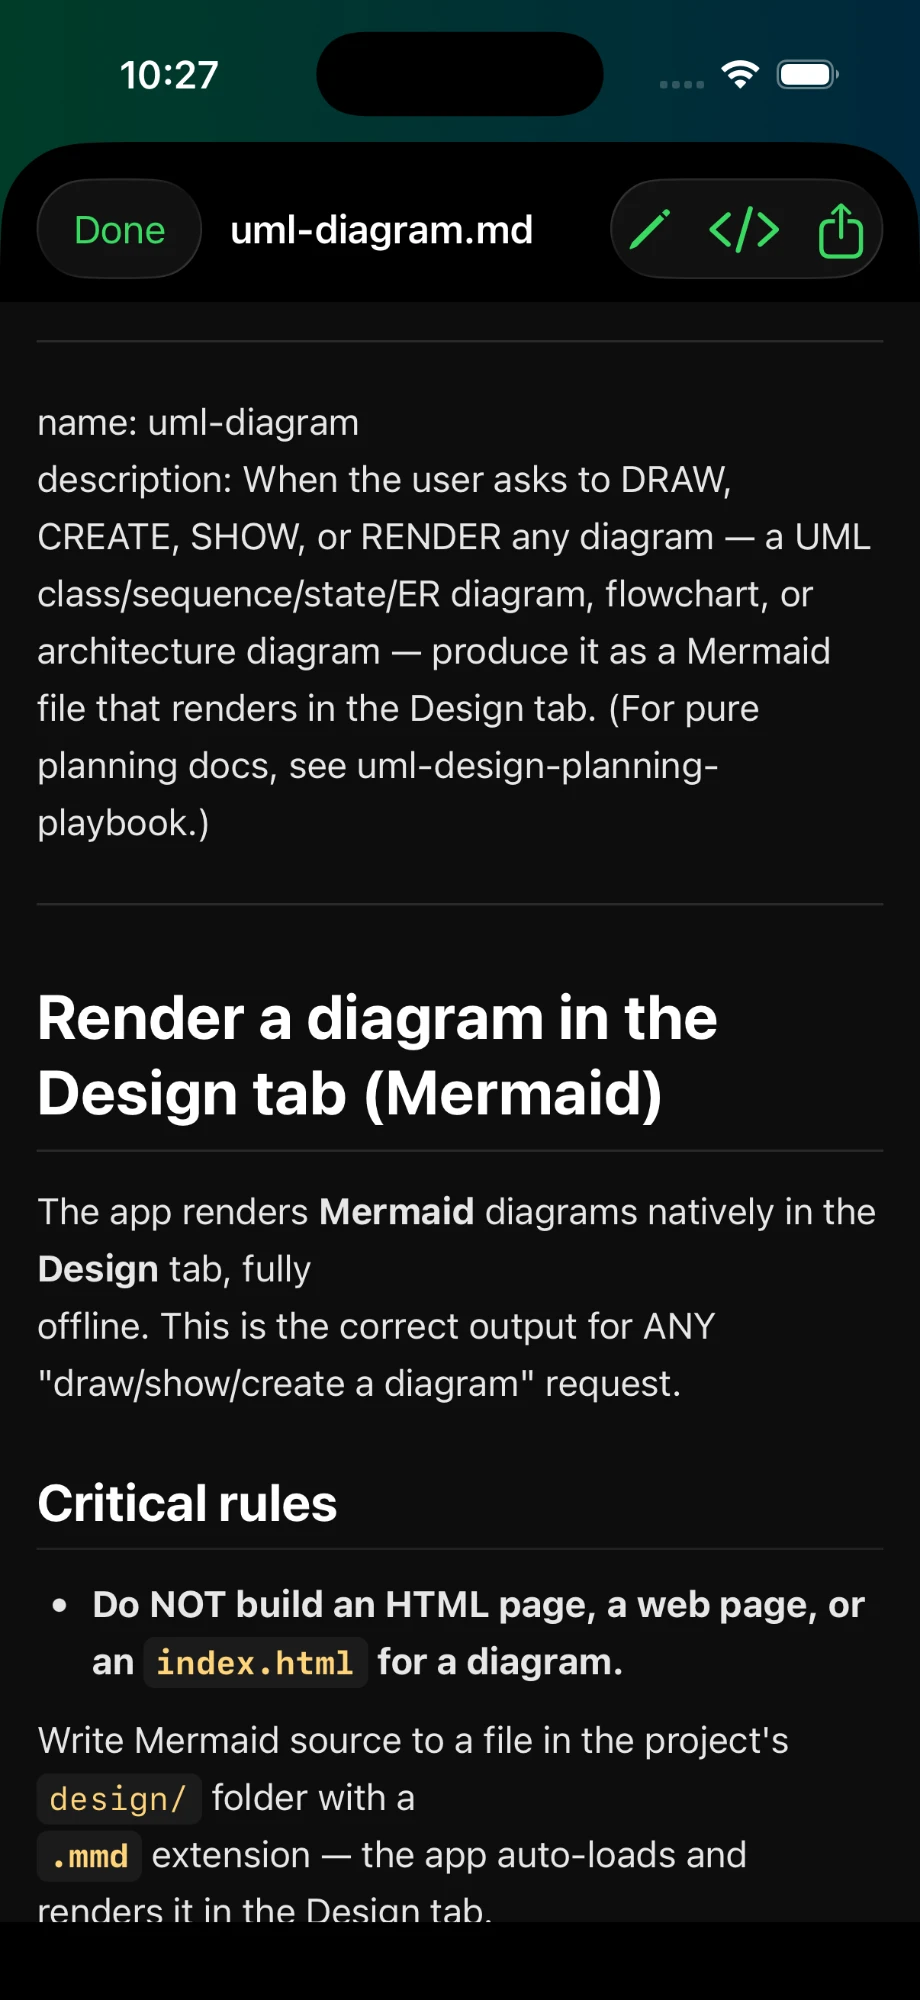
Plugins & marketplaces
Plugins are skills, sub-agent roles and hooks published on GitHub — the same layout Claude Code uses (skills/<name>/SKILL.md, .claude/skills/, or a .claude-plugin/plugin.json that declares where they live). You can install them straight into a project.
Installing
- From a repo: Settings → Plugins → Install from GitHub, enter
owner/repo. - From a marketplace (a repo with
.claude-plugin/marketplace.json), in the Terminal:/plugin marketplace add nextlevelbuilder/ui-ux-pro-max-skill uupm /plugin install ui-ux-pro-max@uupm/plugin marketplace listshows what you've registered;/pluginssummarises everything installed.
Either way you get a preview first: every skill, agent and hook the repo offers, with a checkbox, the folder it will be written to, and — for folder skills — how many support files come with it (+ 72 files, 3.6 MB (data, references, scripts) → skills/ui-ux-pro-max/). Anything that would overwrite one of your own skills is unchecked by default. You must acknowledge that third-party text will be read by the agent before Install Selected is enabled.
What gets installed
- Each skill becomes
skills/<name>.mdin the project, with a provenance footer (repo, commit, date). - A folder skill's scripts, data and references are copied to
skills/<name>/(limits: 300 files, 2 MB per file, 25 MB per skill). A note in the skill tells the agent where they are. - Sub-agent roles go to the roles store; prompt-style hooks to Hooks. Executable hook scripts are never imported.
- A manifest is written to
.icoder/plugins/<owner>-<repo>.jsonlisting what was installed, skipped or excluded.
How the agent uses them
Nothing runs at install time. Every turn, the agent sees only each skill's name and one-line description. When a request matches, it calls use_skill to load the full playbook, and follows it — including running the skill's own scripts with python skills/<name>/scripts/… via its shell tool. Example: ask for "a fintech dashboard landing page" and the UI/UX Pro Max skill searches its style, palette and typography databases, then the agent builds the page to those recommendations. Small local models may not pick a skill up on their own; say "use the ui-ux-pro-max skill" to force it.
Skills are per project. Install into each project where you want them, or ask the agent to copy one across.
MCP servers
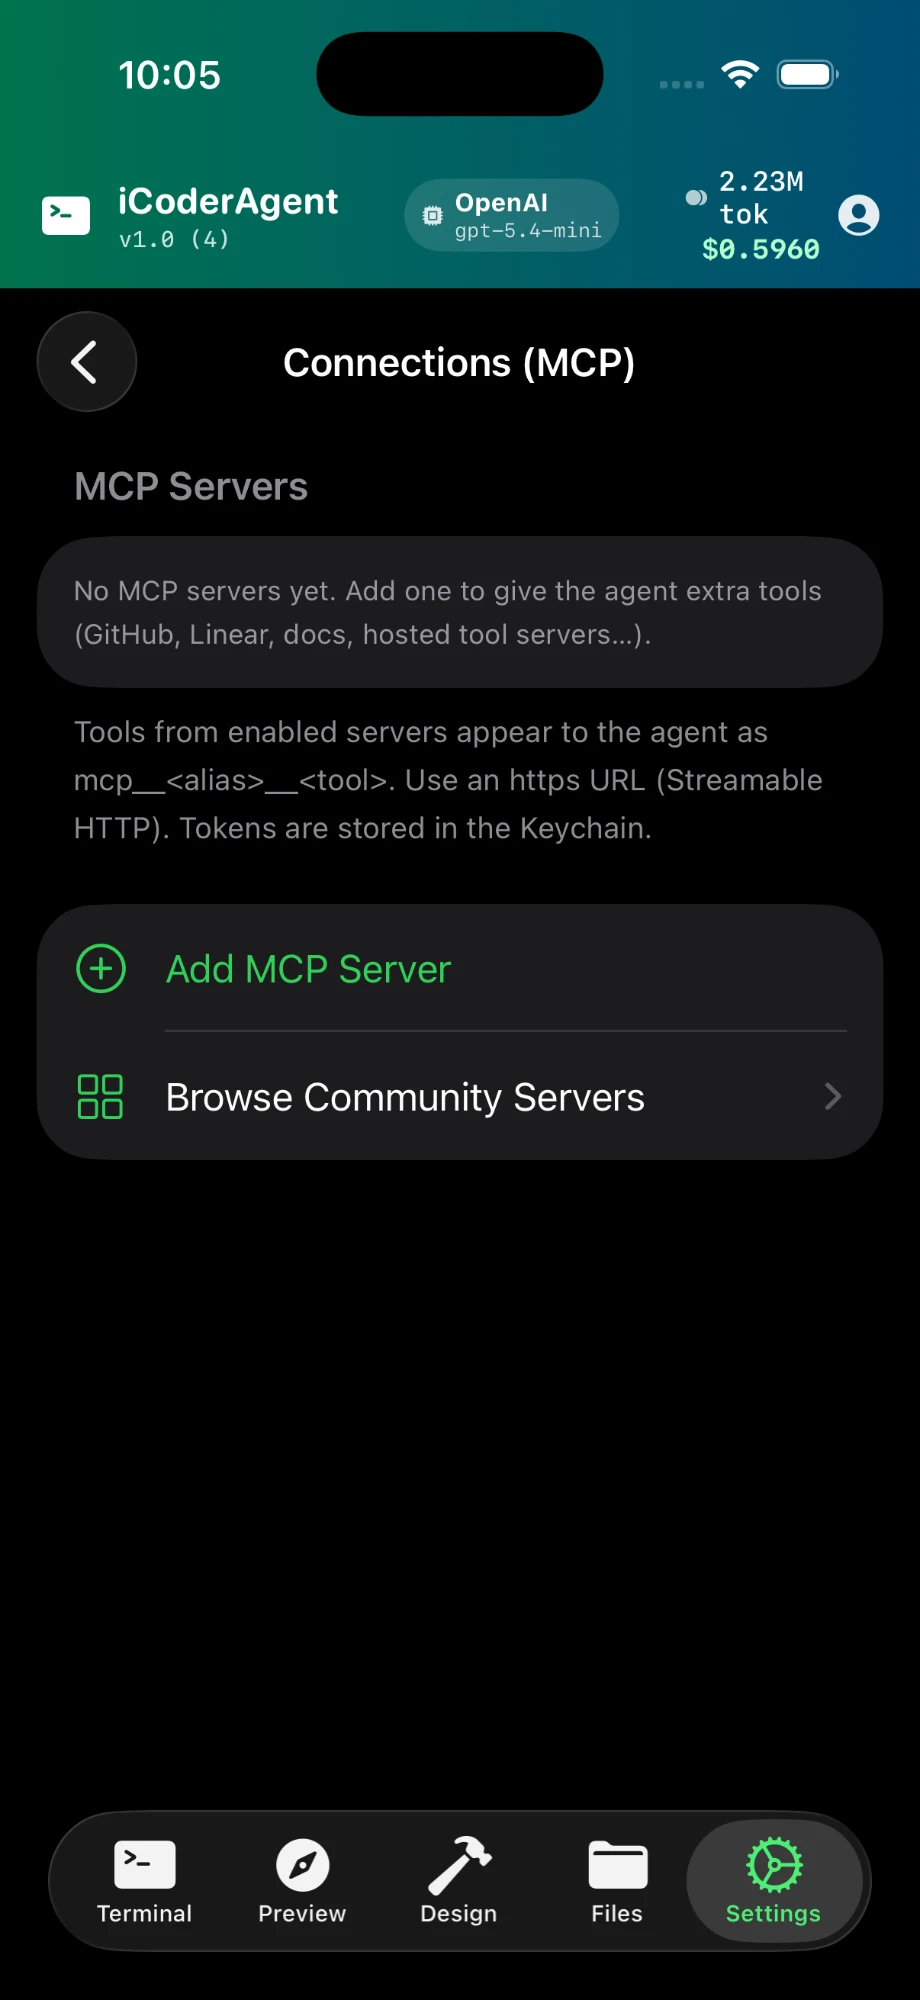
iCoderAgent supports the Model Context Protocol (MCP), an open standard for giving an agent extra tools (GitHub, Linear, docs, hosted tool servers, and more). Add servers under Settings → Connections (MCP):
- Remote (HTTP) servers work directly on your device.
- Local (stdio) servers run on your connected computer via the companion.
- Use Browse Community Servers to search the public MCP registry and add one — you always review exactly what's being added first.
Each server's tools appear to the agent as mcp__<alias>__<tool>.
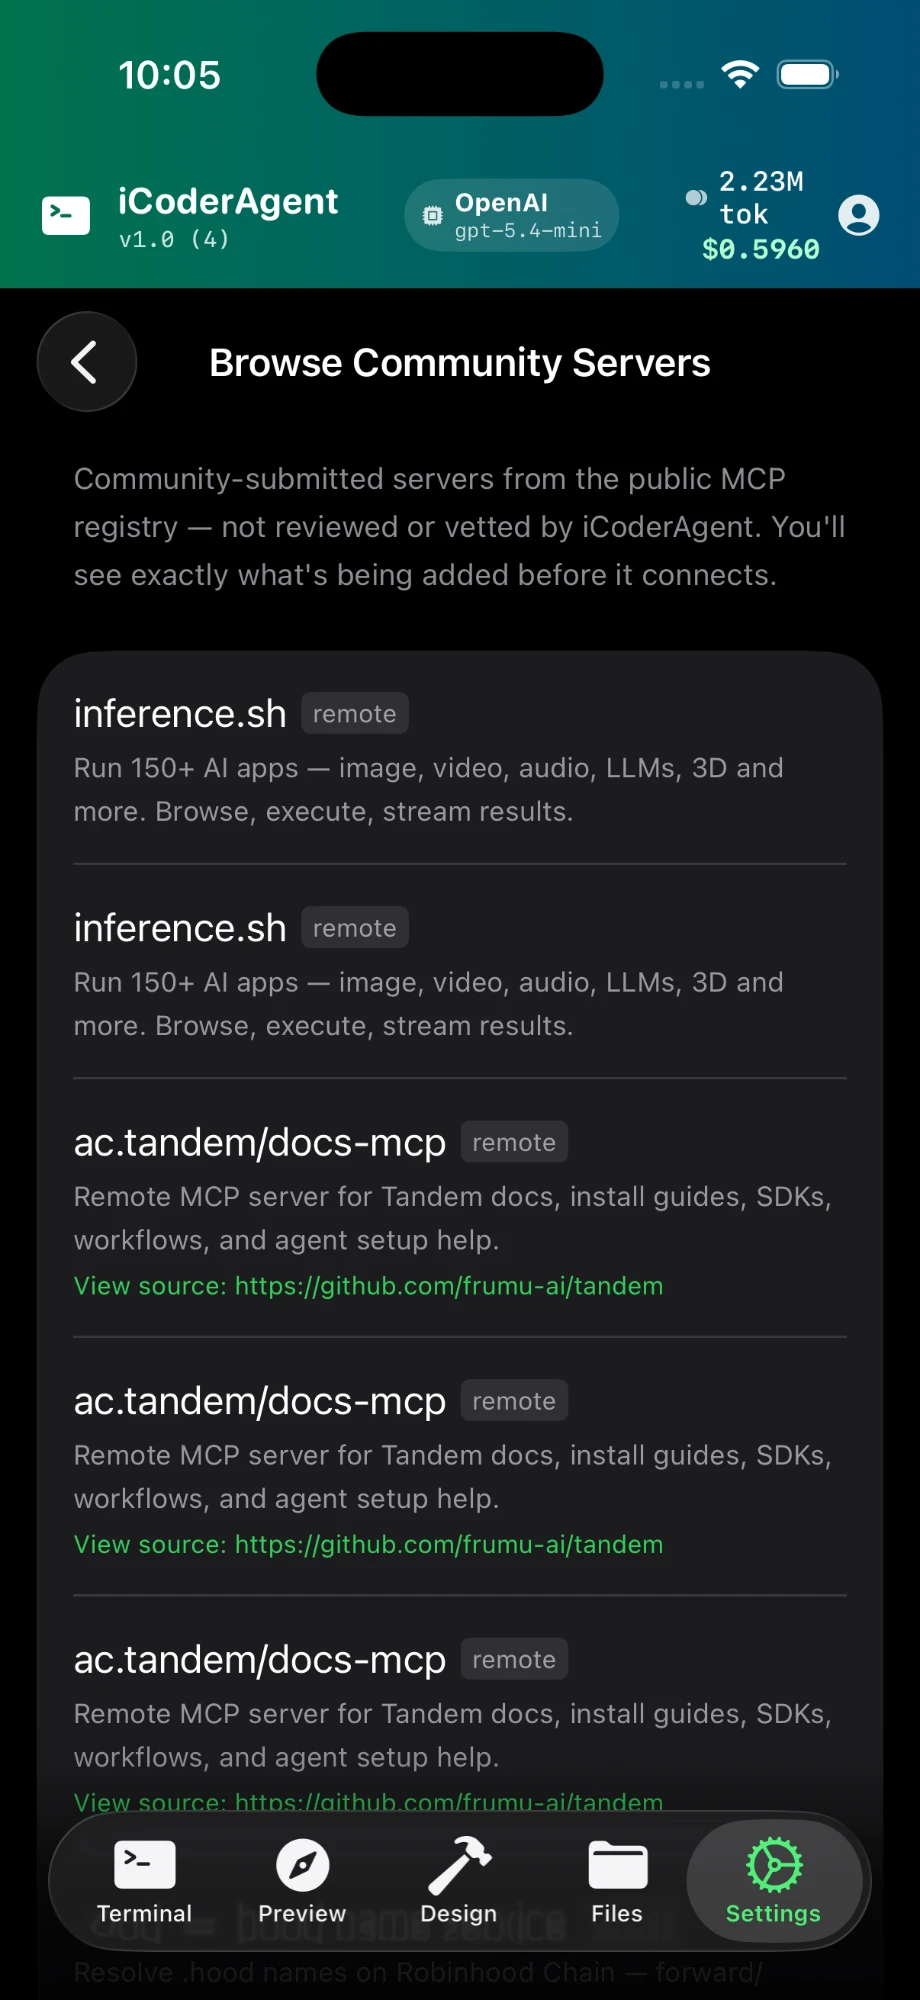
Community MCP servers are not vetted by iCoderAgent. A local (stdio) server runs code on your computer — only add servers from publishers you trust.
Self-authored tools
When it hits a repeated need the built-in tools don't cover, the agent can write a new tool for itself — but never silently. It shows you the exact code and waits for your approval before the tool is saved and becomes callable. Approved tools are scoped to that project and can be removed anytime. This lets the agent genuinely extend itself while keeping you in control of any code that runs.
Security scanning
Built in, nothing to set up: every file the agent writes is checked as it is written. A live API key in source, a SQL query built by string formatting, credentials over http://, a logged password — the agent is warned immediately and fixes it on the spot. It costs no tokens, needs no account, and warns rather than blocks.
Deeper scanning with Snyk: Snyk publishes an MCP server, so it plugs straight into iCoderAgent — dependency CVEs, code analysis and more, running through your paired laptop on a free Snyk account. Setup steps: Security scanning.
Projects & Files
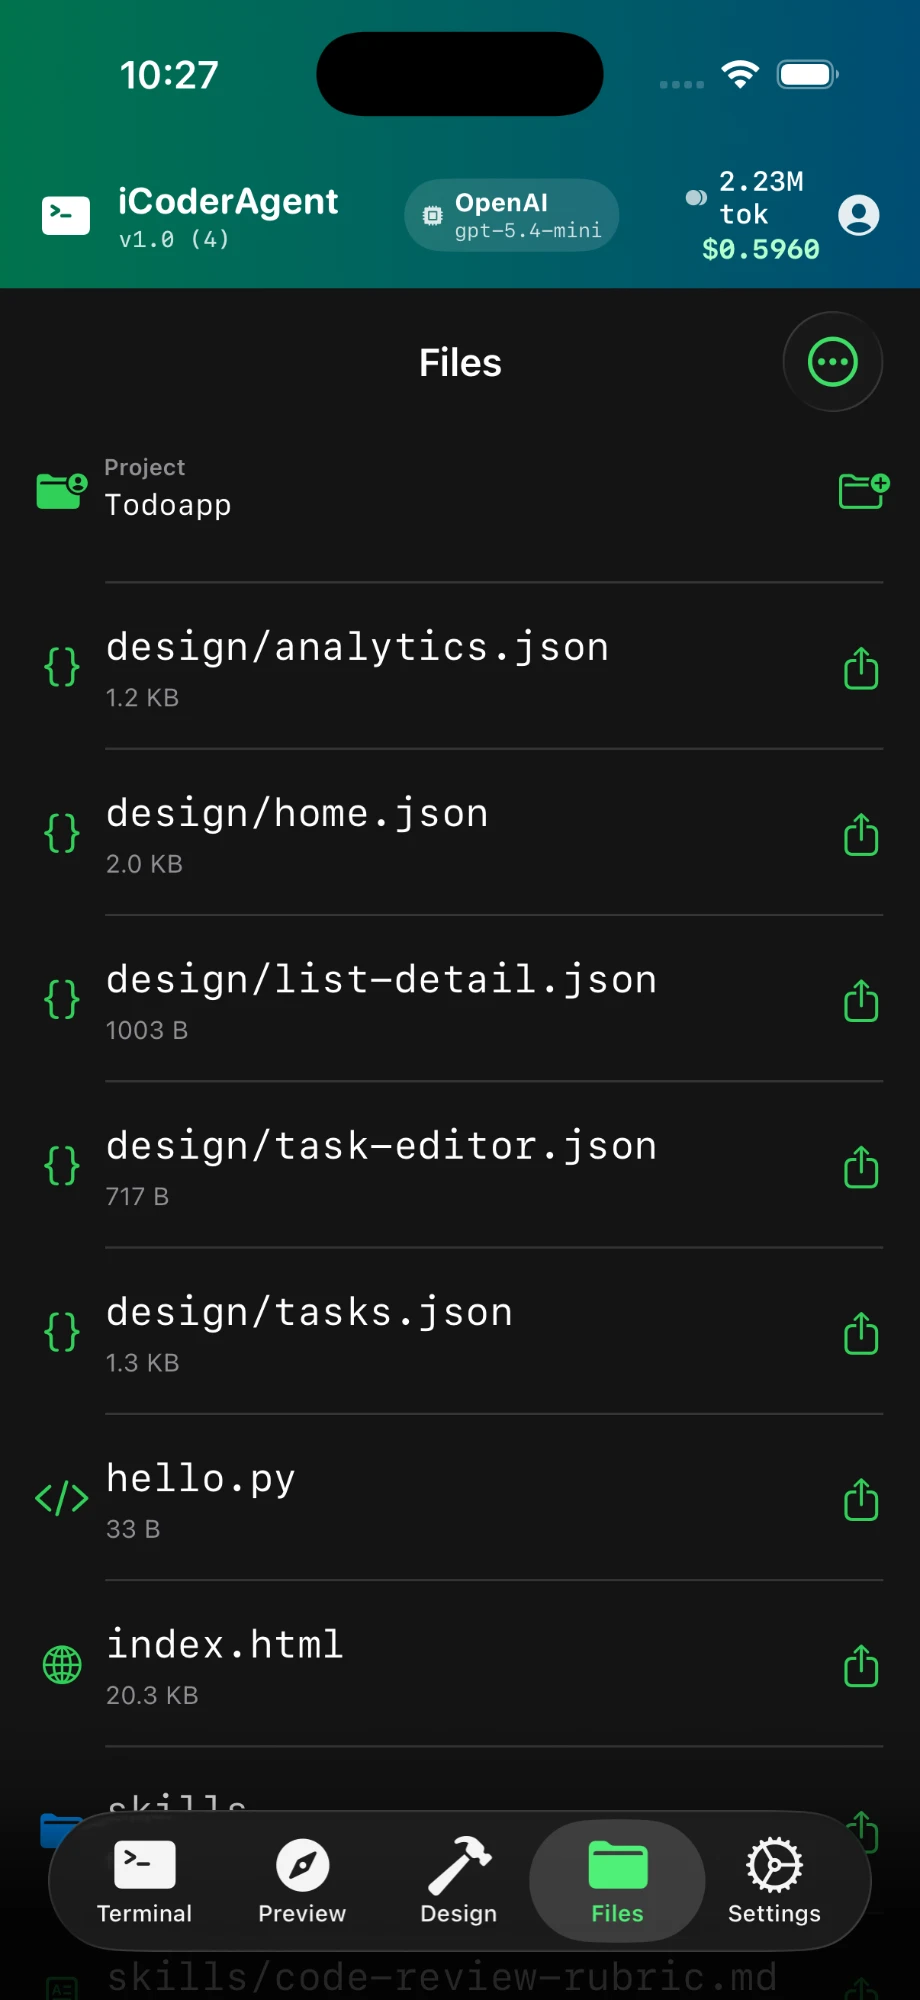
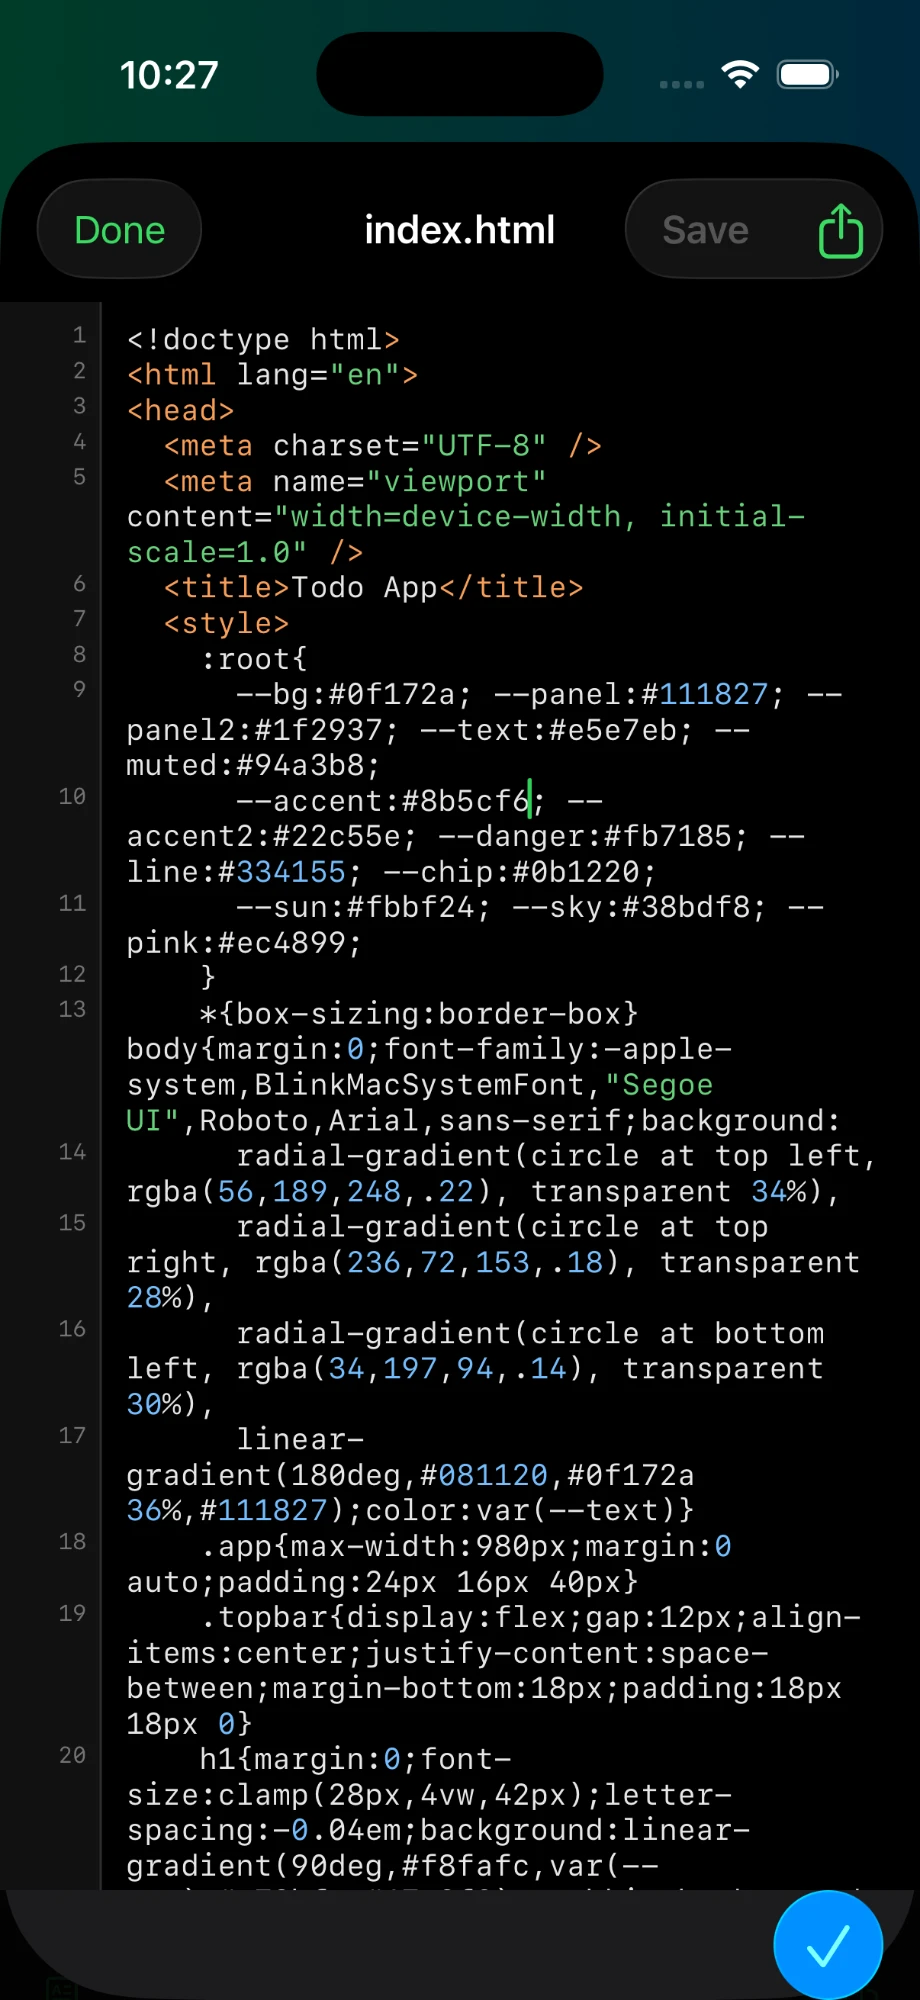
The agent works inside a project folder. On iPhone/iPad this is on-device; with a companion connected it maps to the folder you chose on your computer. Use the Files tab to browse, view and edit files directly.
Preview & Design
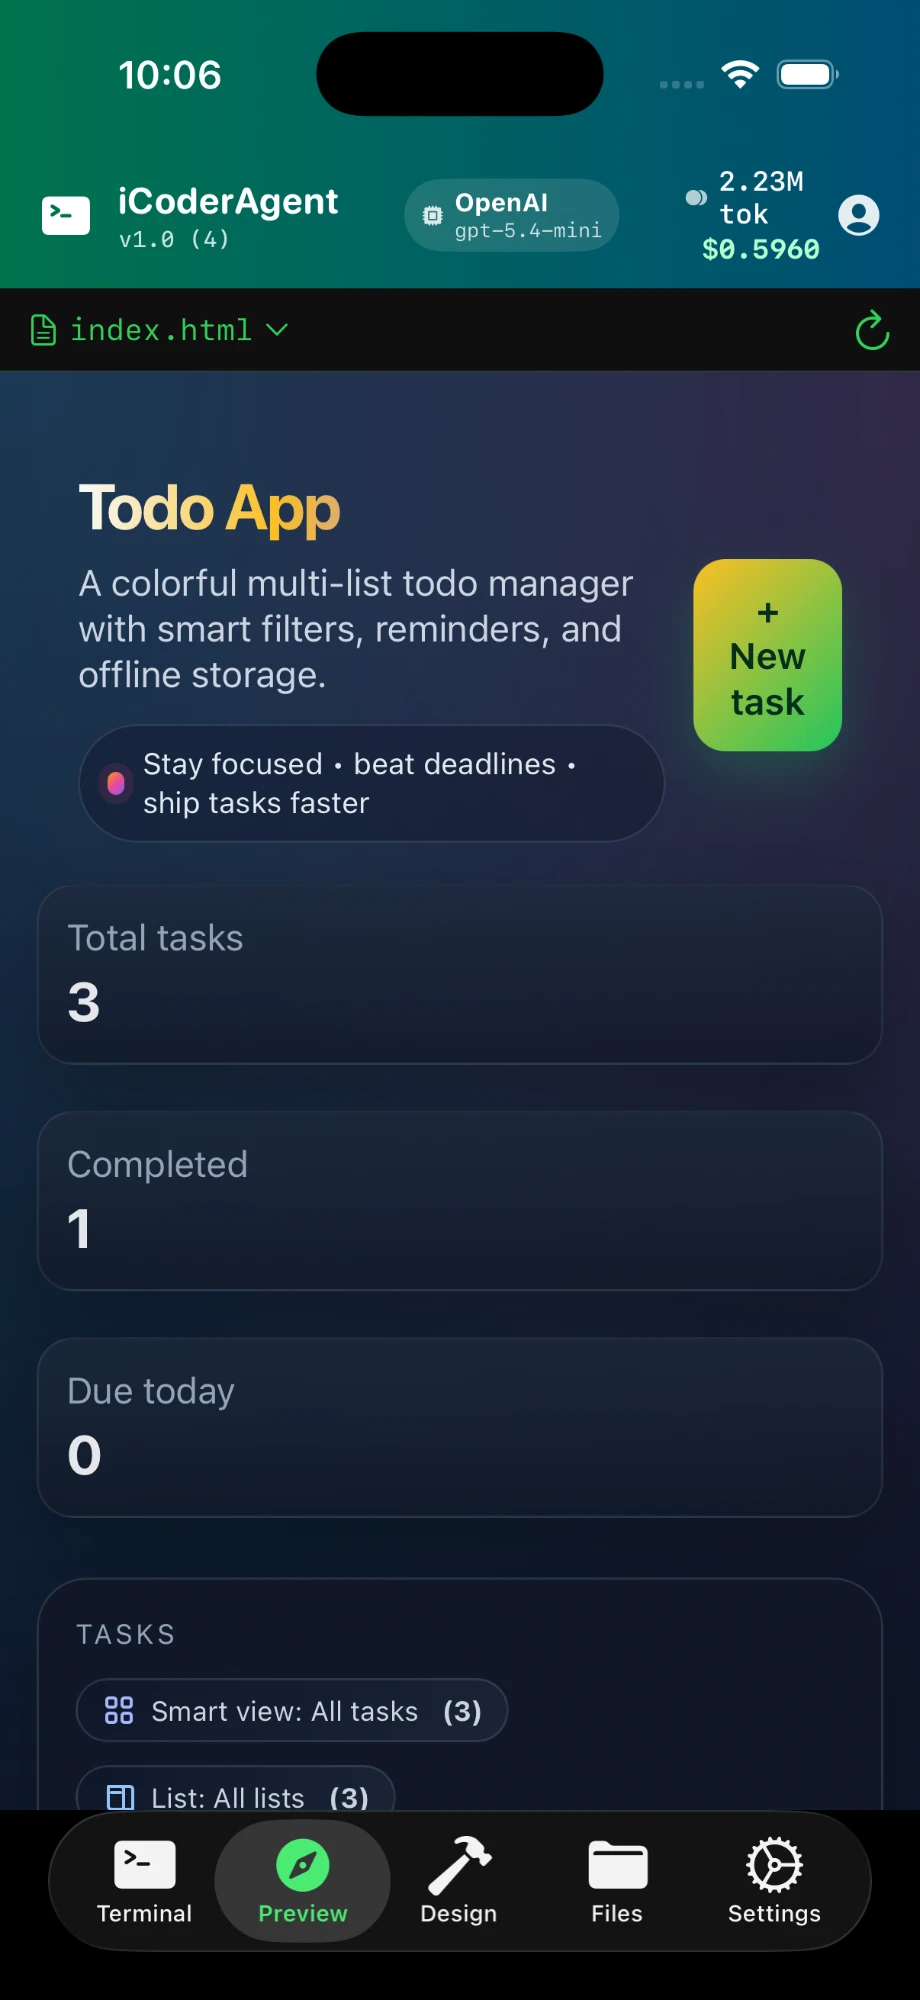
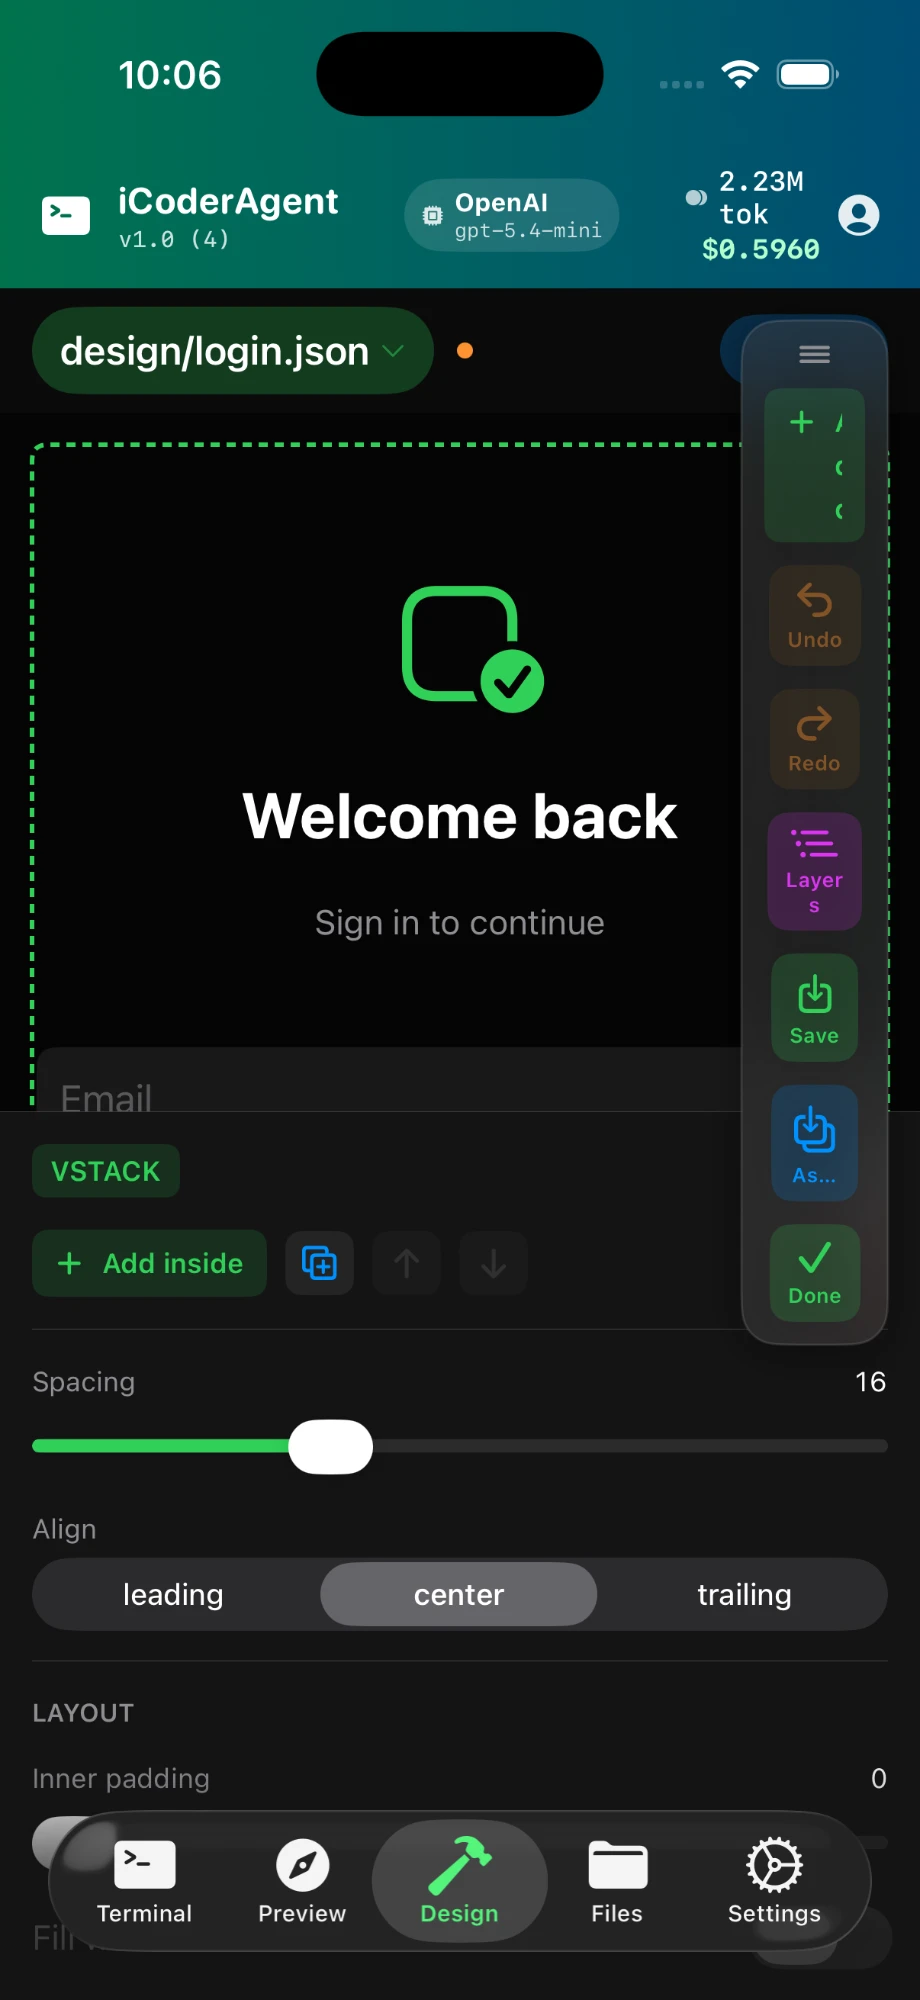
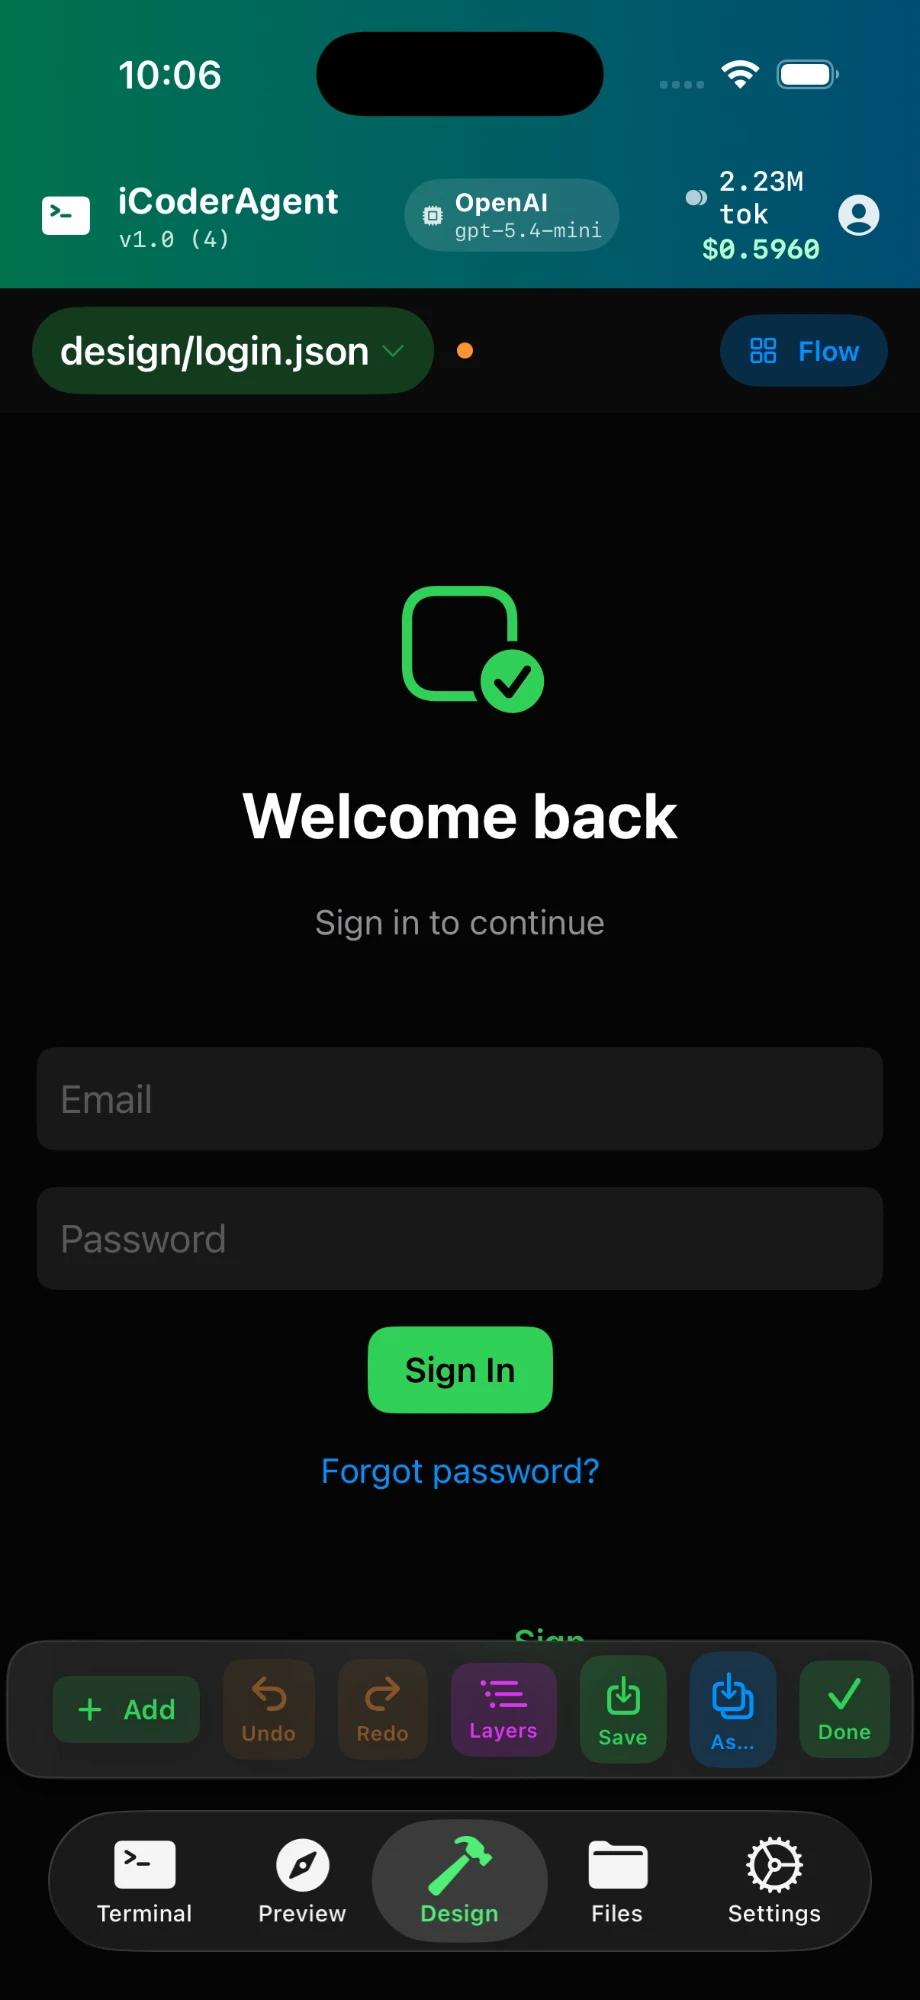
The Preview tab renders HTML the agent builds so you can see and verify the result. When you ask for a screenshot, the agent captures the rendered page and — if the page throws a runtime error — reports the error alongside the image, so a blank screen comes with an explanation. The Design tab is a lightweight surface for sketching screens and flows.
Databases & Git
The agent can run SQL against saved database connections and use Git for version control (on-device via a built-in Git, or the real git on a connected computer). New projects are scaffolded with sensible defaults (a .gitignore, .env and README.md), and the agent auto-commits checkpoints as it edits so work isn't lost.
Plans & conversations
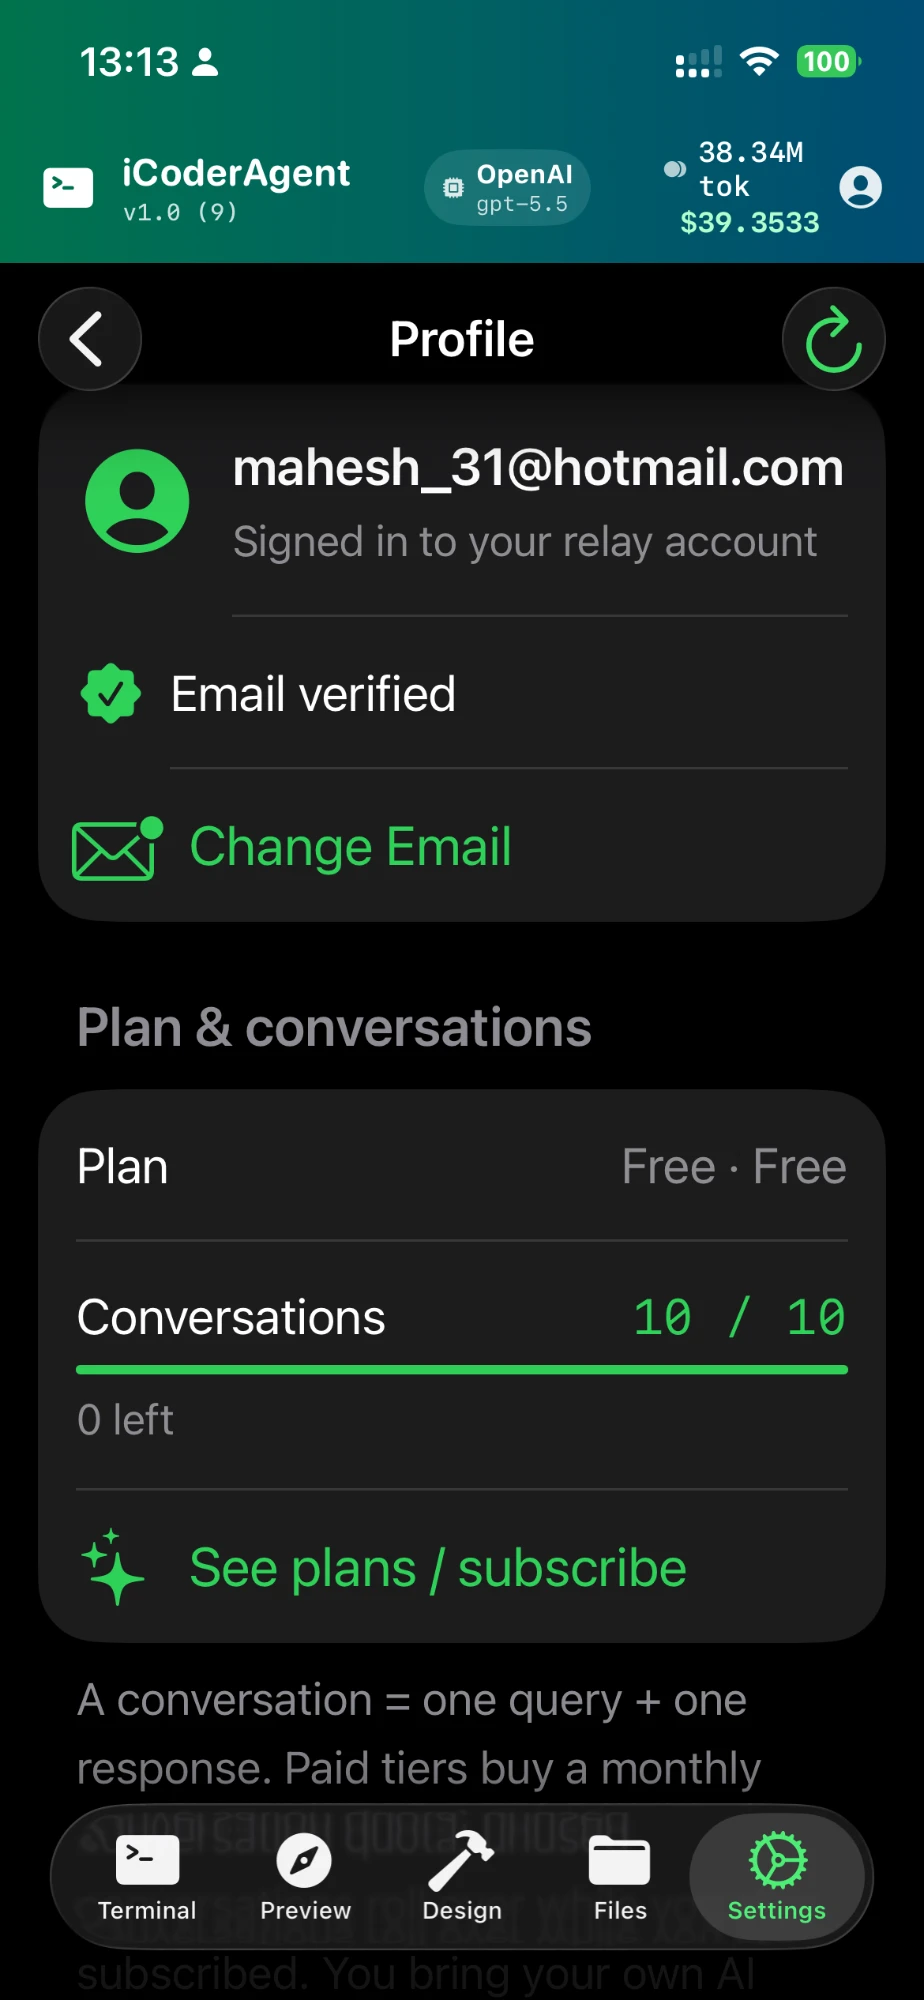
Because iCoderAgent is BYOK, subscriptions cover app usage (a monthly quota of conversations), not the AI model itself — you pay your provider directly for model usage. A "conversation" is one task you start with the agent.
- Free — 10 conversations to try it out, no chat history retained.
- Starter — 500 conversations / month, 100 chats of history.
- Growth — 1,550 conversations / month, 300 chats of history.
- Scale — 5,000 conversations / month, 1,000 chats of history.
Prices are shown in the App Store in your local currency. Unused conversations roll over while your subscription stays active. On-device (Edge) model use does not count against your quota. Manage or cancel anytime in your Apple subscription settings.
Usage & cost
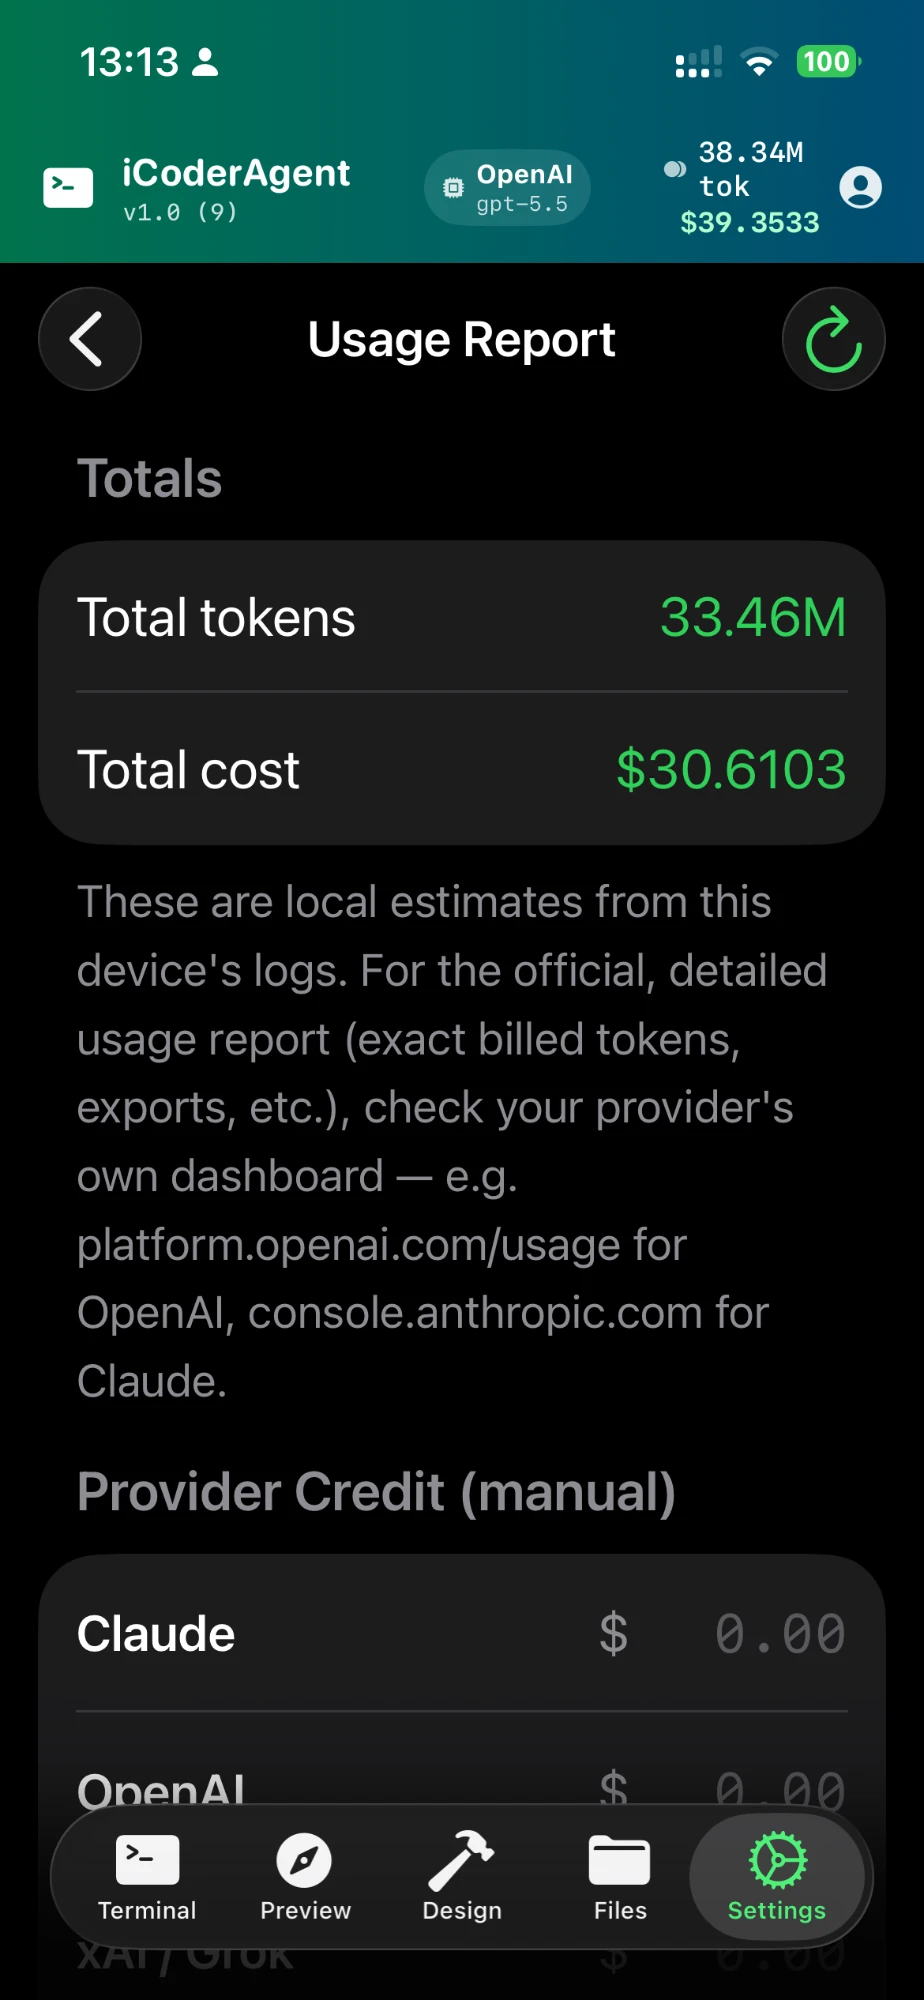
Settings → Usage Report shows total tokens and an estimated cost from this device's logs, broken down by provider. Because you bring your own key, these are local estimates — for exact billed amounts, check your provider's own dashboard (e.g. platform.openai.com/usage for OpenAI, console.anthropic.com for Claude). On-device (Edge) models cost $0.
Manage or cancel (macOS)
iOS/iPadOS subscriptions are managed through your Apple subscription settings as usual. The macOS version sold on icoderagent.com is self-serve: enter your licence key at icoderagent.com/manage to check your plan or cancel — no email required. Refunds: see the refund policy.
Agent tool reference
The agent chooses tools automatically — you never call these directly — but it helps to know what it can do. Type help in the Terminal for the full, always-current list with examples.
write_file / str_replaceCreate and edit filesread_file / list_filesRead the projectgrep / find / find_definitionSearch code & symbolsrun / run_testsRun commands & testsget_diagnosticsBuild / lint errorsdebugScripted pdb / lldb / nodescreenshot / preview_jsSee & verify the UIgitVersion controldbRun SQLweb_search / web_answerLook things up onlineuse_skillLoad a CognitiveSkilltask / pipeline / loopDelegate & orchestratessh_runRun on a registered hostpropose_toolAuthor a new tool (with your approval)Troubleshooting
"No computer is connected" when running commands
Shell commands (compilers, npm, pytest, Docker) need a connected computer. Install the companion and connect it under Settings → Remote. On-device, only the embedded Python standard library is available.
The agent hit the paywall
Every account gets a free trial of 10 conversations. After that, subscribe, or switch to an on-device (Edge) model, which doesn't count against the quota.
A local model provider says the URL isn't set
For Ollama/MLX, enter your computer's LAN IP (not localhost) in Settings, since the phone reaches it over your network.
Still stuck?
See the Support page or email support@aidigiapps.com.
If the app crashes
The next time you open iCoderAgent after it stopped unexpectedly, it asks: Diagnose with AI? Nothing happens unless you say yes.
- Diagnosis. The agent (whichever model you have configured) gets the crash details iOS recorded — the crashing thread's stack and the app's own log, with API keys, emails and file paths removed — and follows a built-in crash-diagnosis playbook. It tells you in plain words what likely happened and whether it was a bug in iCoderAgent, something in your project's code, or the environment (memory, network, a model too large for the device).
- Report — only for app bugs, only with your approval. If it looks like an iCoderAgent bug, the agent drafts a report (title, what happened, diagnosis, steps, environment, stack, a short log excerpt) and the app shows it to you in a Review bug report sheet. Edit anything, then Send — or Discard. Sent reports reach the iCoderAgent team as an issue in our tracker; your account email is never included. Not signed in? The report opens in Mail instead.
- What the team does. An agent triages each report: it reads the stack and log, finds the code involved, and opens a fix for review when the cause is clear, or asks for more detail on the report. Fixes ship in the next app update.
You can run the diagnosis any time with /crash in the Terminal. Crash details are only ever read after you tap Diagnose; dismissing the prompt with Not now discards them.
Privacy & data
Your API keys are stored in the iOS Keychain and sent only to the provider you chose. Projects, chat history and usage logs stay on your device — delete the app and they're gone. There are no advertising SDKs, no third-party analytics and no cross-app tracking. Read the full privacy policy.